
In the previous post we setup a Puppet server on an Azure VM and on-boarded the first Puppet agent to it. We assigned a node configuration by modifying the site.pp in the production environment using a node block.
node puppetdsc01 {
  dsc { 'some file':
    dsc_resource_module_name => 'PSDesiredStateConfiguration',
    dsc_resource_name => 'File',
    dsc_resource_properties => {
      ensure => 'present',
      destinationpath => 'c:/testfile.txt',
      contents => 'some text',
    },
    notify => Service['bits'],
  }

  Service { 'bits':
    ensure => 'running',
    enable => true,
  }
}
From first sight we can see that this setup is anything but optimal. Having a second node with the same configuration would require us to update the node statement to include the other node or duplicate when we have a slight variation. In this post I’ll look into enhancing the experience by hopefully introducing some code reusability and a more easy approach to configuration management similar to what we’ve seen with Chef (run list, recipes, cookbooks and roles). Let’s explore!
Note that I won’t be going over everything Puppet, Chef or any other tooling I’m checking out. The amount of things to cover are overwhelming and would drift me away from my actual goal (enhancing the DSC experience by looking elsewhere) for these post. Stuff like Hiera won’t be covered. Not that I’m not interested or it isn’t relevant, but there are only this many hours in the day! :)
Index:
- Part 1: Chef intro
- Part 2: Chef notifications
- Part 3: Chef server
- Part 4: Chef bootstrapping
- Part 5: Chef client settings
- Part 6: Puppet intro
- Part 7: Puppet notifications
- Part 8: Puppet server
- Part 9: Puppet Modules, Roles and more
- Part 10: Puppet bootstrap
Classes
Until now I have create resource declaration on their own. When working with DSC we have the configuration keyword followed by a name and then the DSC resource declaration within the configuration scriptblock. This allows us to call / refer to the DSC configuration script by its name. With Puppet we have exactly the same concept in Puppet classes.
Let’s update the site.pp a little bit by moving the resource declarations into a class within the same site.pp file and have the class assigned to our node.
class dsctest {
  dsc { 'some file':
    dsc_resource_module_name => 'PSDesiredStateConfiguration',
    dsc_resource_name => 'File',
    dsc_resource_properties => {
      ensure => 'present',
      destinationpath => 'c:/testfile.txt',
      contents => 'some text',
    },
    notify => Service['bits'],
  }

  Service { 'bits':
    ensure => 'running',
    enable => true,
  }
}

node puppetdsc01 {
  include dsctest
}
I assigned the class by using the include statement. This is fine when there are no parameters involved. Let’s run the puppet agent on the target node.
puppet agent --test
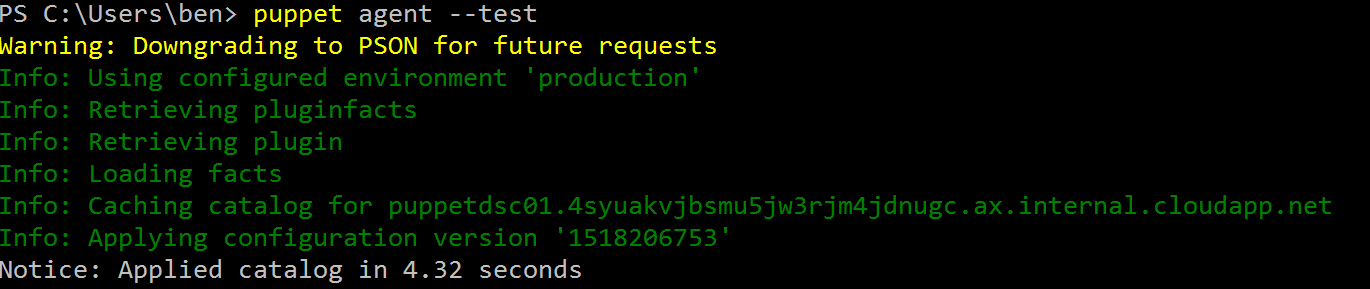
As you can see nothing changed on the agent side. Now let’s move back to the server and add a parameter to our class so we can assign values in a more flexible way. Open the site.pp again and adjust the class as follows:
class dsctest (String $content = 'some text') {
  dsc { 'some file':
    dsc_resource_module_name => 'PSDesiredStateConfiguration',
    dsc_resource_name => 'File',
    dsc_resource_properties => {
      ensure => 'present',
      destinationpath => 'c:/testfile.txt',
      contents => $content,
    },
    notify => Service['bits'],
  }

  Service { 'bits':
    ensure => 'running',
    enable => true,
  }
}

node puppetdsc01 {
  class {'dsctest':
    content => 'some other text',
  }
}
Looks very familiar if you ask me :) Notice that we now have a parameter content of type string with a default value of some text. For our node statement, notice that I changed the include statement into a resource-like statement so I’m able to pass a value to the parameter. Great for reusability!
Let’s run this on the puppet agent.
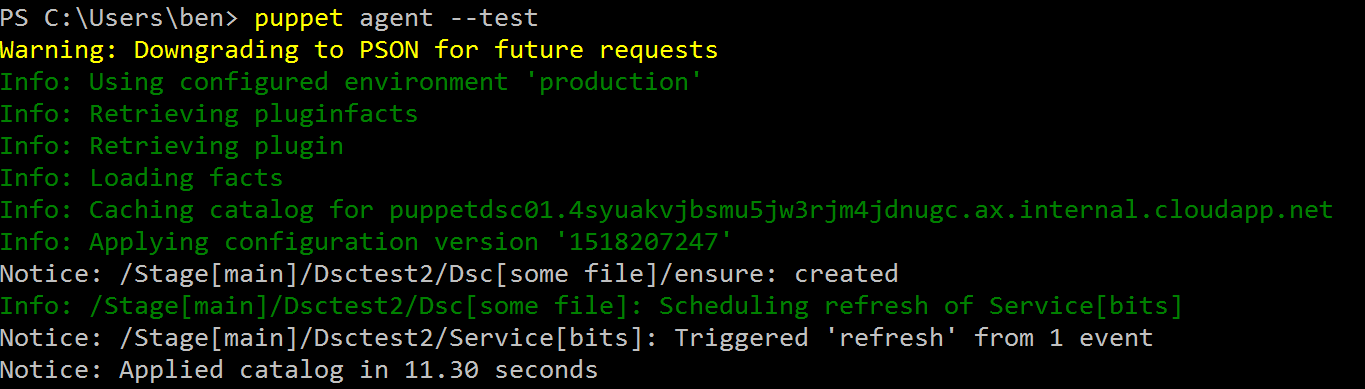
Great! The content of the file was overwritten and that change triggered a service restart.
Having this defined in a class greatly improves the reusability of your code but having everything defined in the site.pp isn’t at all optimal. Let’s see what we can do to clean things up a bit more.
Modules
Having classes that can be assigned to more than one node and not pollute the main manifest requires them to be packaged in a Puppet module. We already installed some Puppet modules before (dsc_lite) to extend what Puppet can manage but haven’t created a module ourselves yet. On the Puppet master let’s create a module to contain our manifest in our home directory.
cd ~
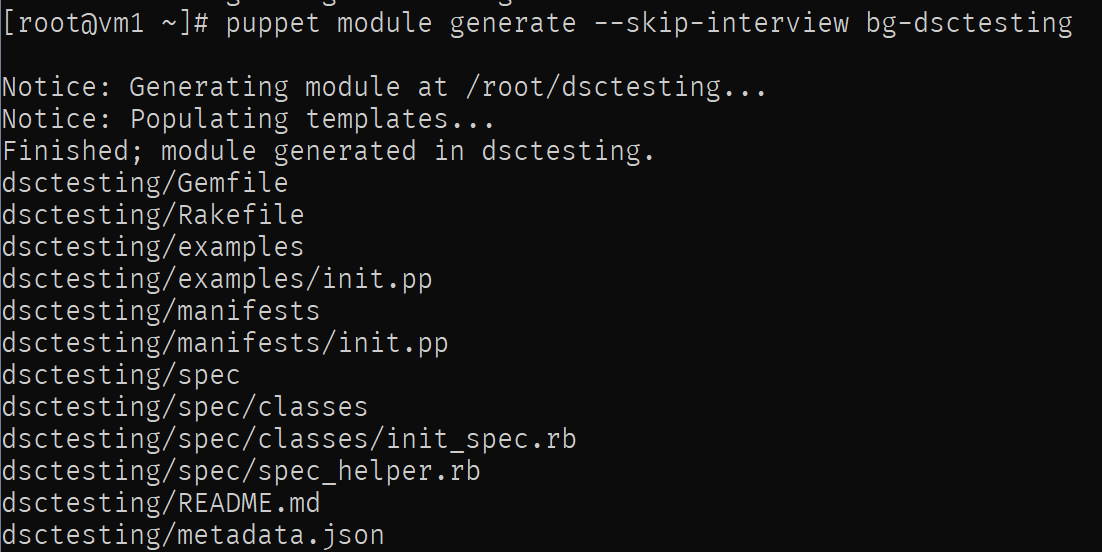
puppet module generate --skip-interview bg-dsctesting
Notice the skip-interview parameter is used to skip an interactive questionaire (that would fill in some details in the manifest) and the name we need to provide is in the format author-modulename which is a required convention (if not specified like this, an error is thrown pointing it out) for the scaffolding.
Let’s move the content of the class created earlier in the site.pp into the init.pp (dsctesting/manifests/init.pp) of our newly create module. Make sure you add the parameter!
class dsctesting (String $content = 'some text') {
  dsc { 'some file':
    dsc_resource_module_name => 'PSDesiredStateConfiguration',
    dsc_resource_name => 'File',
    dsc_resource_properties => {
      ensure => 'present',
      destinationpath => 'c:/testfile.txt',
      contents => $content,
    },
    notify => Service['bits'],
  }

  Service { 'bits':
    ensure => 'running',
    enable => true,
  }
}
Now let’s remove the dependencies from the module manifest and remove the prefix from the name.
{
  "name": "dsctesting",
  "version": "0.1.0",
  "author": "bg",
  "summary": null,
  "license": "Apache-2.0",
  "source": "",
  "project_page": null,
  "issues_url": null,
  "dependencies": [
  ],
  "data_provider": null
}
Next let’s install the module and verify it is found.
mv dsctesting/ /etc/puppetlabs/code/environments/production/modules/
puppet module list

So far, so good. Let’s update the site.pp file again. If you haven’t done so already, you can clean it by removing the class created earlier. Let’s move to the node statement and adjust it as follows:
node puppetdsc01 {
  class { 'dsctesting':
    content => 'some new text this time',
  }
}
Now let’s run the puppet agent again on the target node and see if everything works as expected.
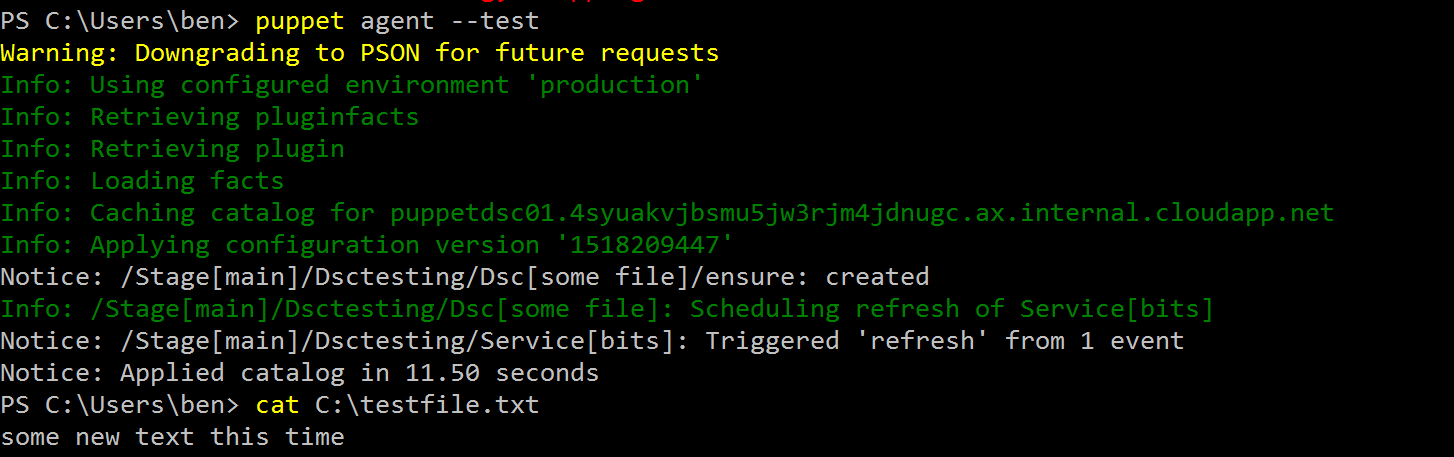
Nice! The class was automatically detected during the compilation of the catalog. We cleaned up the site.pp by offloading the manifest content to a dedicated module. We could have multiple manifest as part of the module so I think it would be a common practice in a real puppet environment to have a custom module filled with manifest files and supporting files like templates and such. When comparing what we looked at before with chef, we now have the equivalent of a recipe, packaged in a cookbook where the recipe is assigned to a node’s run list.
Dynamic assignment
Now I want to cleanup the site.pp even more. I don’t want any specific node declarations, instead I want nodes to tell the Puppet master what their role is and rig up the correct configuration like that. Maybe it’s not the correct way but it’s how I think about configuration management as it is the (general) way of doing so with DSC. So how would we go about this?
With Puppet there apparently is a pattern that is commonly used called the Roles and Profiles pattern.
In short, Profiles encompass a technology stack like SQL Server for example. The profile would contain the resource definitions to configure the desired end result. Roles are a composition of multiple profiles. For example, it includes the profiles for Base server configuration + SQL Server + Hardening.
Both Roles and Profiles are just a way of using Puppet modules to implement a logical abstraction. It’s not a technical requirement to use the pattern to the letter. In my case I’m going to implement just a Role as if it was a Profile. I’m leaving the correct way of using the Roles and Profiles pattern for another time. In fact, I’ll be using my previously created Module as the Role, I’m going to rig things up so the Puppet agent on the node tells the master which Role to assign.
We need to adjust the site.pp a little bit to accomplish this. First let’s remove our node declaration so we only have our default node declaration left.
node default {
  case $role {
    dsctest: {
      class { 'dsctesting':
        content => "Correct role assigned! $role",
      }
    }
    default: {
      class { 'dsctesting':
        content => "Unknown role: $role",
      }
    }
  }
}
In this construct we assume the node will provide a role fact and based on that fact, if the role is dsctest, we assign the class from the dsctesting module and have the content set as “Correct role assigned! dsctest”. If the role is unknown, different content will be written to the file “Unknown role: name”.
Now let’s move to the agent and make sure that the role fact will be present the next run by assigning the FACTER_role environment variable.
[environment]::SetEnvironmentVariable('FACTER_role','dsctest',[System.EnvironmentVariableTarget]::Machine)
$env:FACTER_role = [environment]::GetEnvironmentVariable('FACTER_role',[System.EnvironmentVariableTarget]::Machine)
The first line will set the system environment variable FACTER_role and the second will update the environmental variable in the current shell. I must say, I’m not up to speed on facter and how it all works. I just stumbled upon the FACTER_role in an example provided somewhere (didn’t save the link…).
You can check if facter will provide the Puppet master with a role fact.
facter role

Now we can run the agent again and see what happens.
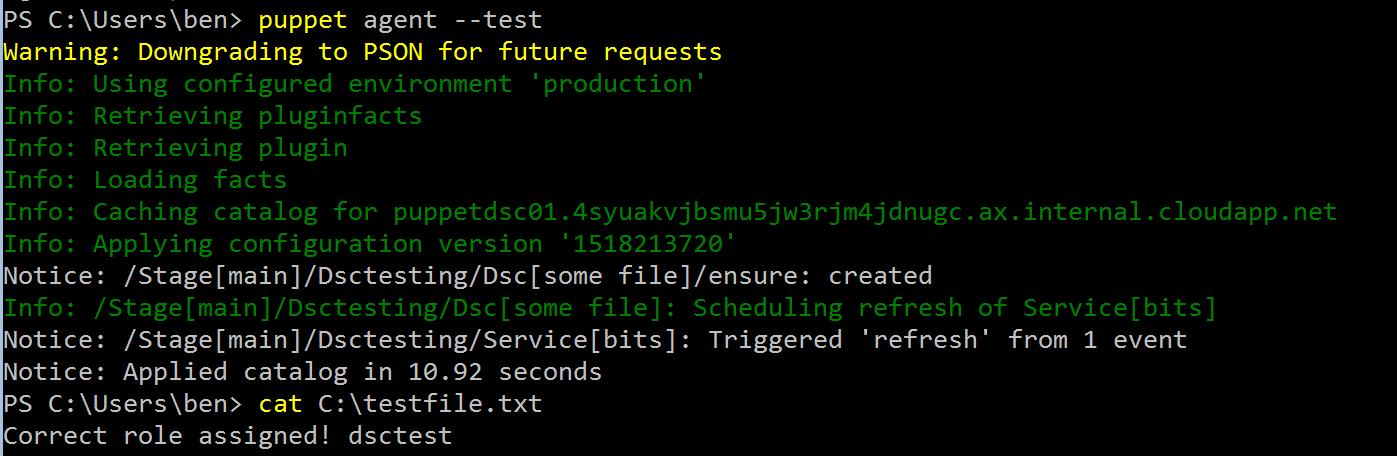
As you can see, we now have a more dynamic approach of assigning the correct configuration by having the node tell the master what it needs! This is awesome if you ask me :-)
In the next blog post on Puppet with DSC we will look at auto approve new nodes so we can automatically onboard and converge new Azure VMs. To be continued!