
In this post I’ll continue my investigation on using DSC with Chef. In this post I’ll look at how we can deliver recipes (as created in the previous blog) to nodes by using a Chef server.
Index:
- Part 1: Chef intro
- Part 2: Chef notifications
- Part 3: Chef server
- Part 4: Chef bootstrapping
- Part 5: Chef client settings
- Part 6: Puppet intro
- Part 7: Puppet notifications
- Part 8: Puppet server
- Part 9: Puppet Modules, Roles and more
- Part 10: Puppet bootstrap
First let’s setup a Chef server. We have to option to go with our own Chef server or with hosted Chef. We go with hosted Chef for now as it’s way easier to get started and I don’t think setting up our own will actually help with what we are trying to figure out. Go to https://manage.chef.io/signup/ and sign up for a trial account.
After you sign up, you’ll receive an email to confirm your account. Click the link in that email to verify your account and set your password.
After that, navigate to https://manage.chef.io/login and sign in. Then follow these steps to create an organization.
- Click Create New Organization.
- Enter a full name and short name for your organization. An organization is typically a company name or a department within a company. These names can be whatever you want but the short name must be unique.
- Click Create Organization.
Now we have our Chef server!
As my authoring and control station I’m using Windows 10 with Windows Subsystem for Linux (WSL) running the Ubuntu 16.04 distribution.
If you don’t have this already, follow this guide to get you started.
Open bash and install ruby, ruby-dev and the ChefDK. The ChefDK will provide us with the tools we need to talk to Chef servers, generate cookbooks and do a whole lot more.
sudo apt-get -y install ruby ruby-dev
wget https://packages.chef.io/files/stable/chefdk/2.3.4/ubuntu/16.04/chefdk_2.3.4-1_amd64.deb
sudo dpkg -i chefdk_2.3.4-1_amd64.deb
Next we will download the starter kit from our hosted Chef server and check if we can communicatie with the hosted Chef server.
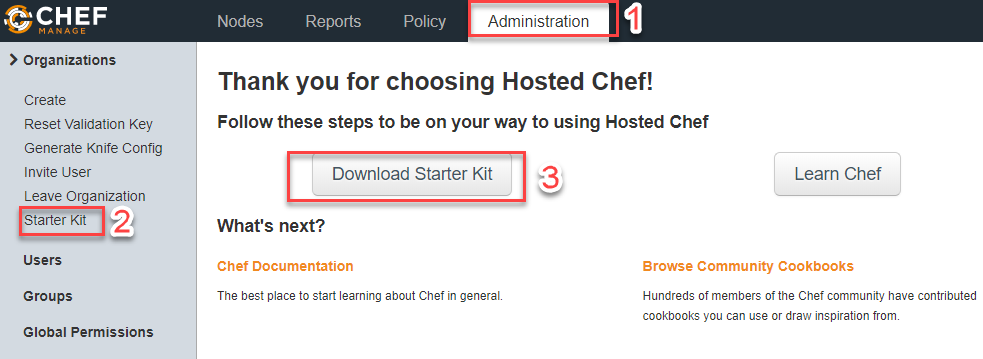
If the Started Kit link on the left pane (step 2) is greyed out, be sure to select the organization in the right pane (this will activate the link menu).
We’ll start to work in the root of C: so we can easily use vscode from Windows as the editor and don’t loose any files if we decide to remove the Ubuntu distribution. Unzip the Starter Kit and copy chef-repo directory and content to the root of C:.
The chef-repo directory contains a .chef directory. In this directory there is a knife.rb file and a pem file. The knife.rb file contains some configuration settings used by the ChefDK tooling so they know where to find stuff like the Chef Server online and the cookbook directory locally. Communication with the Chef Server happens securely. For authentication purposes, the pem file is used which is a private key.
To make it easy to work in both Linux and Windows simultaneously, I’ve found it worthwhile to have the git settings in Linux reflect the git settings in Windows.
# if not installed already
sudo apt-get install -y git

# replace my stuff with your stuff
cat << EOF > ~/.gitconfig
user.name=Ben Gelens
user.email=ben@bgelens.nl
core.autocrlf=true
EOF
Now start vs code from Windows PowerShell.
code c:\chef-repo
And have it’s terminal be the Ubuntu’s bash terminal. You can do this through the user or workspace settings by setting:
"terminal.integrated.shell.windows": "C:\\WINDOWS\\system32\\bash.exe"
Open the bash terminal by pressing ctrl + `
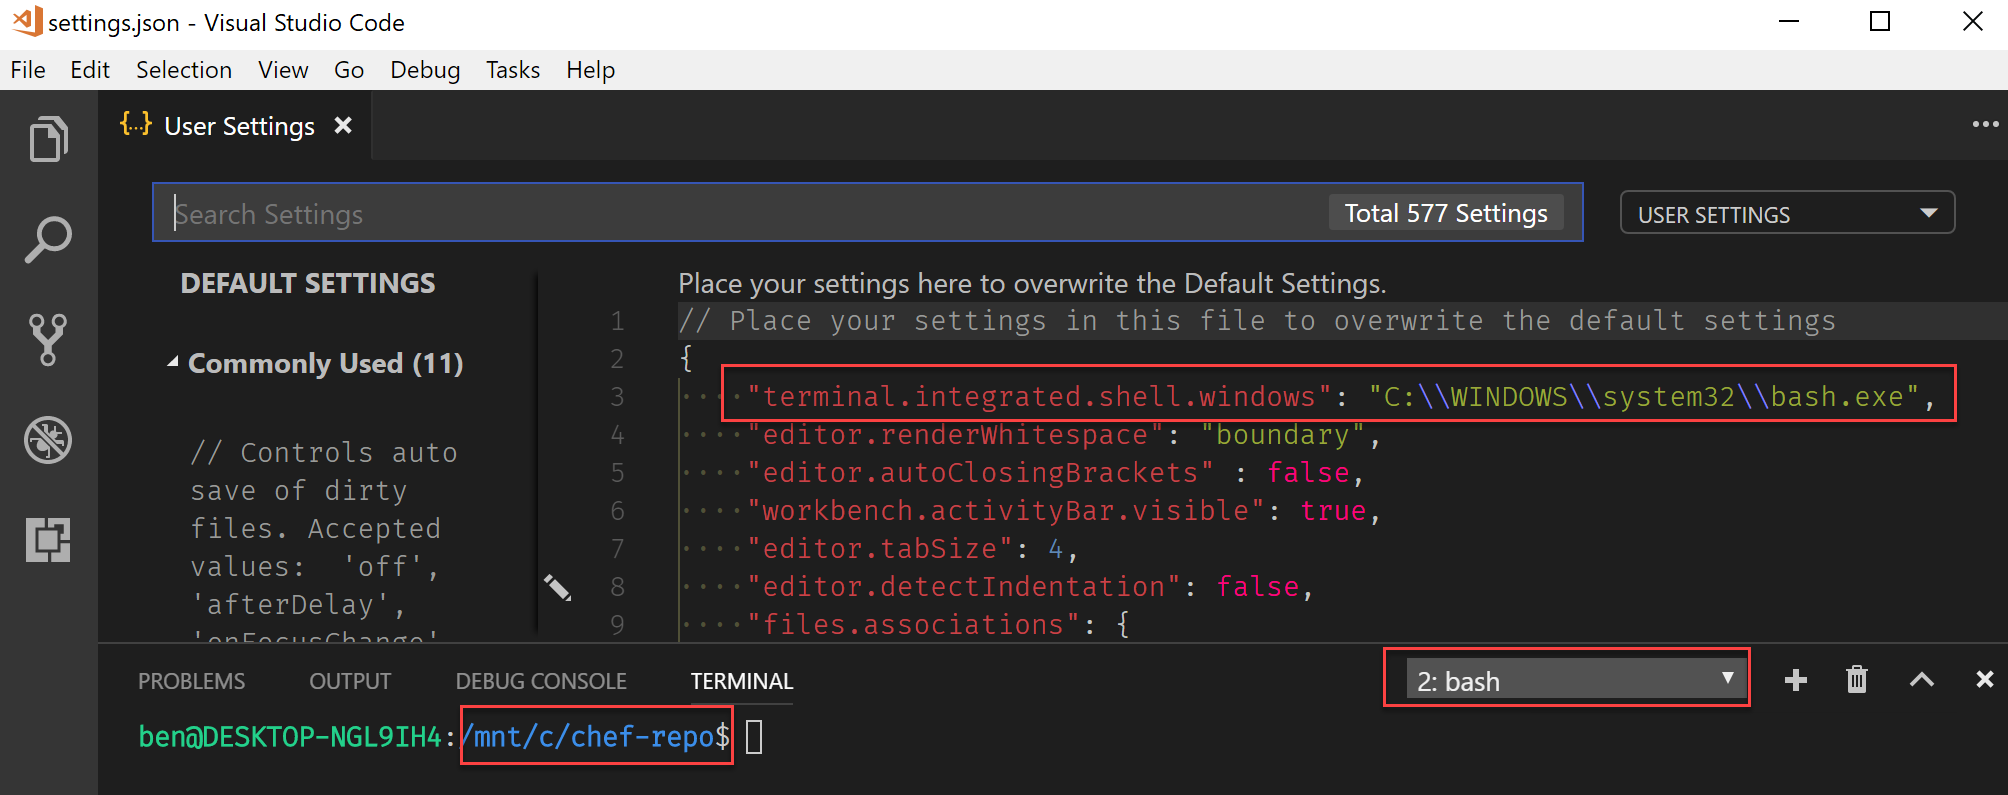
Test if connection can be made to chef server (working with chef server is done with knife).
Navigate to /mnt/c/chef-repo and type knife ssl check

In the previous post, we created a recipe. Recipes cannot be added to the Chef server on their own. They need to be wrapped in a cookbook. You can think of a cookbook as a PowerShell module. It can contain one or more recipes and other artifacts as well (e.g. templates, test, etc).
Let’s generate a cookbook called dsctest01 by using chef generate.
chef generate cookbook cookbooks/dsctest01
Add the recipe from the previous blog post to the file cookbooks/dsctest01/recipes/default.rb
windows_service 'bits' do
    action :start
    startup_type :automatic
end

dsc_resource 'some file' do
    resource :File
    module_name 'PSDesiredStateConfiguration'
    module_version '1.1'
    property :DestinationPath, 'c:\testfile.txt'
    property :Contents, 'some text2'
    property :Ensure, 'Present'
    notifies :stop, 'windows_service[bits]', :before
    notifies :start, 'windows_service[bits]', :immediately
end
I know, the recipe doesn’t make all that much sense in the real world. But we are in it for the experimentation :)
Before uploading the cookbook to the chef server, let’s first validate the syntax of the recipe by running cookstyle cookbooks/dsctest01
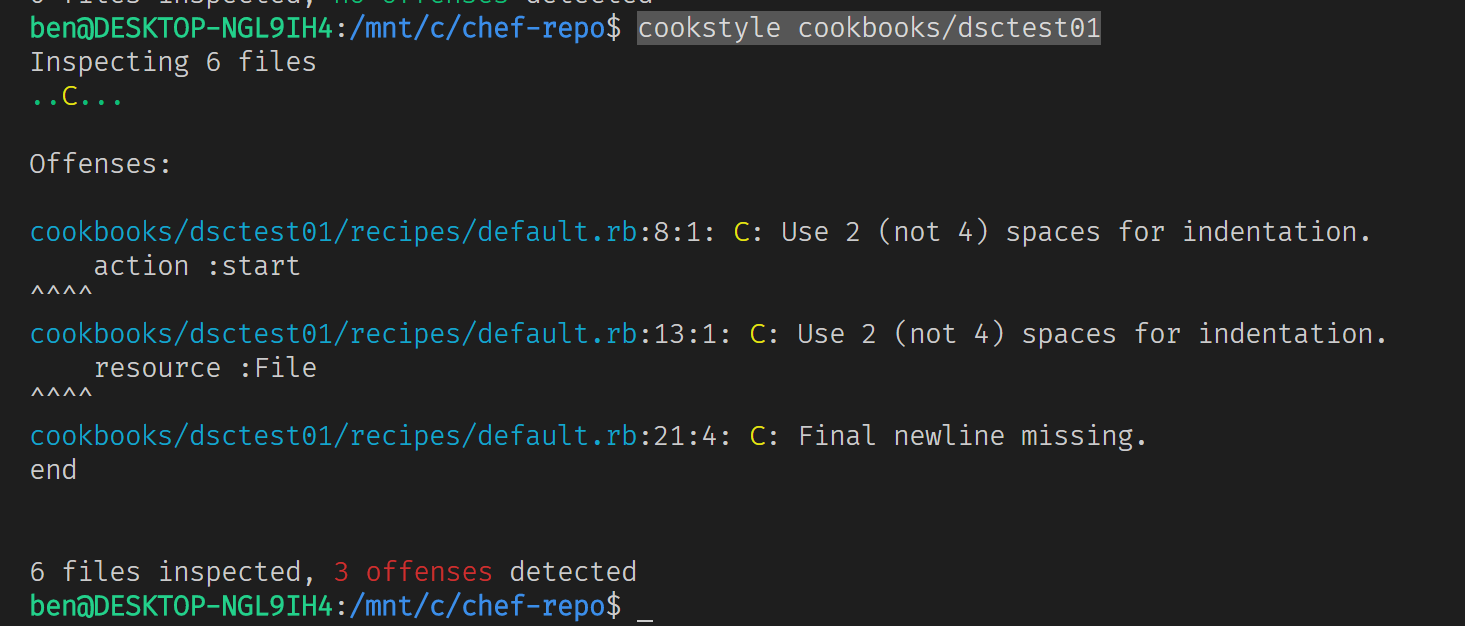
Oops! Seems that I’ve not been following best practices! You can look at cookstyle as a best practice analyzer for chef. Let’s fix that real quick by replacing the content of default.rb with:
windows_service 'bits' do
  action :start
  startup_type :automatic
end

dsc_resource 'some file' do
  resource :File
  module_name 'PSDesiredStateConfiguration'
  module_version '1.1'
  property :DestinationPath, 'c:\testfile.txt'
  property :Contents, 'some text2'
  property :Ensure, 'Present'
  notifies :stop, 'windows_service[bits]', :before
  notifies :start, 'windows_service[bits]', :immediately
end
Don’t forget to add a newline at the bottom as well. Let’s check that again.

Better! Now we are ready to upload the cookbook.
knife cookbook upload dsctest01

Chef server is like DSC Pull Server+++++ but you need to be aware that you should put your cooking into git or some other version / source control system outside of Chef server as well.
When looking at the chef portal, we now can see the cookbook and its recipe is present.
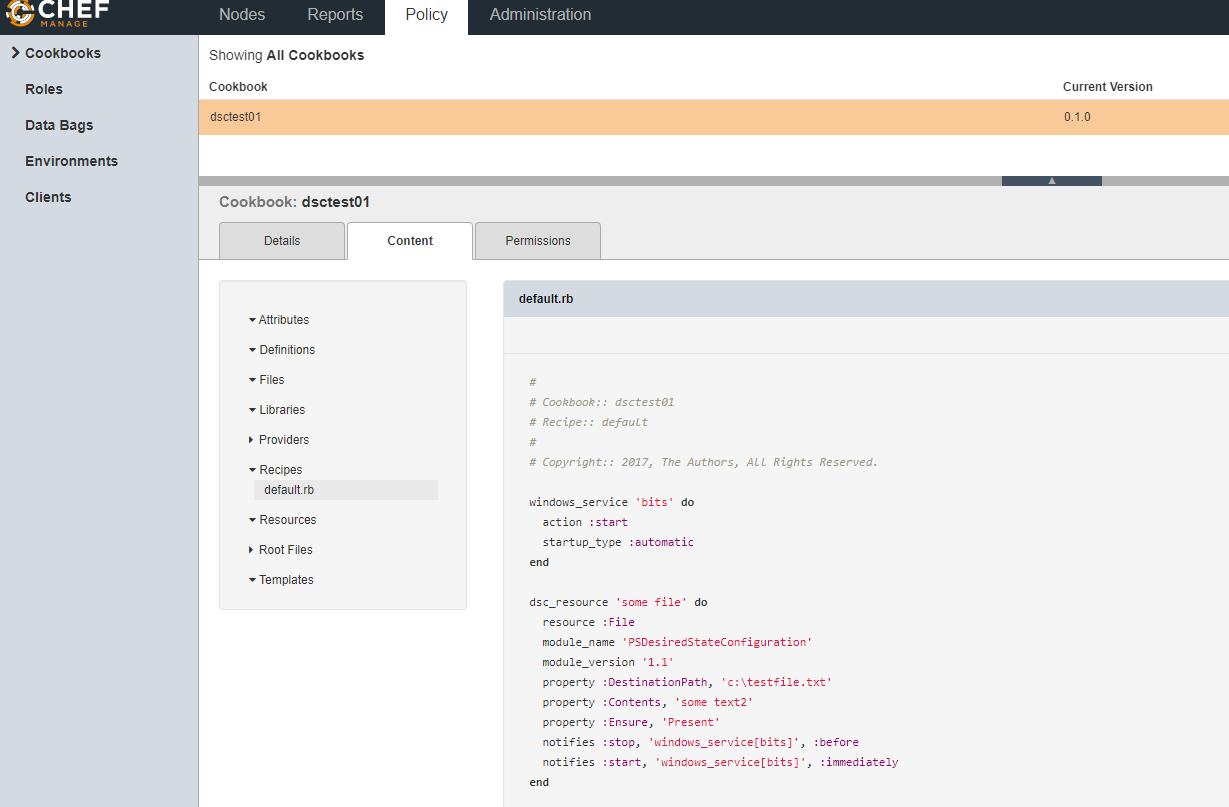
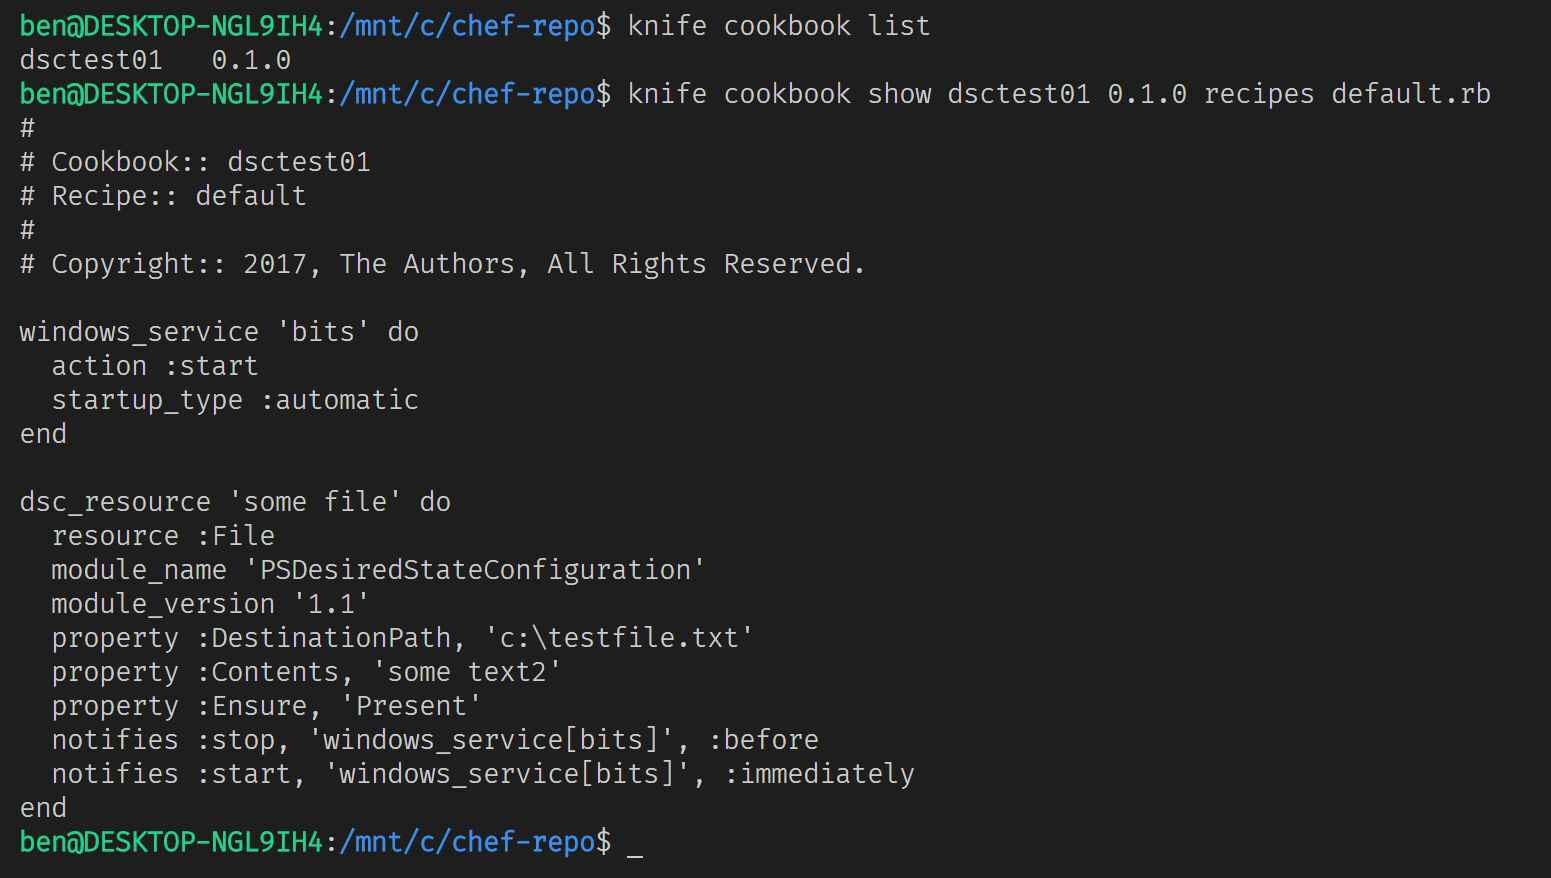
Or we could use:
# to find out about which cookbooks are present
knife cookbook list
# to get the content of the default recipe
knife cookbook show dsctest01 0.1.0 recipes default.rb
There’s probably an easier cli experience which I just did not find out about yet.
Now we have everything into place to have a chef client pull down the cookbook and apply the default recipe, we need to tell the chef client about that as well. I’m going to onboard the node used in the first 2 blog posts manually. It turns out this is the hard way to do it :) We’ll probably deploy some additional nodes using more preferred (easier) methods in later posts.
RDP into the VM and open PowerShell.
To manually configure the chef-client to add itself to the Chef server. We need to create a client.rb file at c:\chef. Don’t forget to update the chefOrg and chefServerUri variables to reflect your own chef server endpoint.
$chefOrg = 'bgelens'
$chefServerUri = 'https://manage.chef.io/organizations/{}' -f $chefOrg
@"
chef_server_url        '$chefServerUri'
validation_client_name '$chefOrg-validator'
validation_key         'C:\chef\validator.pem'
node_name              '$($env:COMPUTERNAME.ToLower())'
"@ | Out-File -FilePath c:\chef\client.rb -Encoding utf8 -Force
Next, we need to add the validator.pem. Let’s go to the hosted Chef server portal, navigate to the Administration tab and select the organization. Than select Reset Validation Key and select Reset Key at the warning message. Finally, download the validator.pem.
As I understand it, the validator.pem is only used initially during “onboarding”. During onboarding a node specific key pair is generated and the validator.pem could be cycled without impact.
Now we have the validator.pem, let’s copy it over to the VM. You can just open the file and copy the content to the clipboard as I’m using an RDP session currently.
Get-Content ~\Desktop\bgelens-validator.pem | Set-Clipboard
And then at the VM save the clipboard to the file.
Get-Clipboard | Out-File -FilePath C:\chef\validator.pem -Encoding ascii
Now let’s call chef-client and watch the machine onboard.
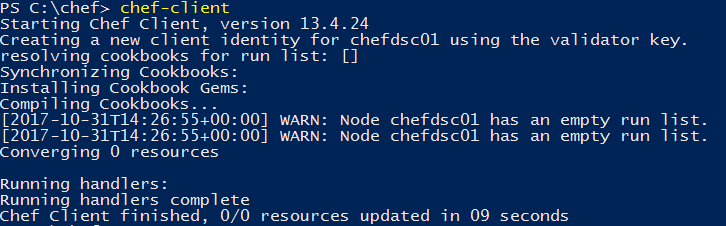
Success! If we now look at the c:\chef directory, we see a new pem file for the client and we could remove the validator.pem as it’s not needed anymore.
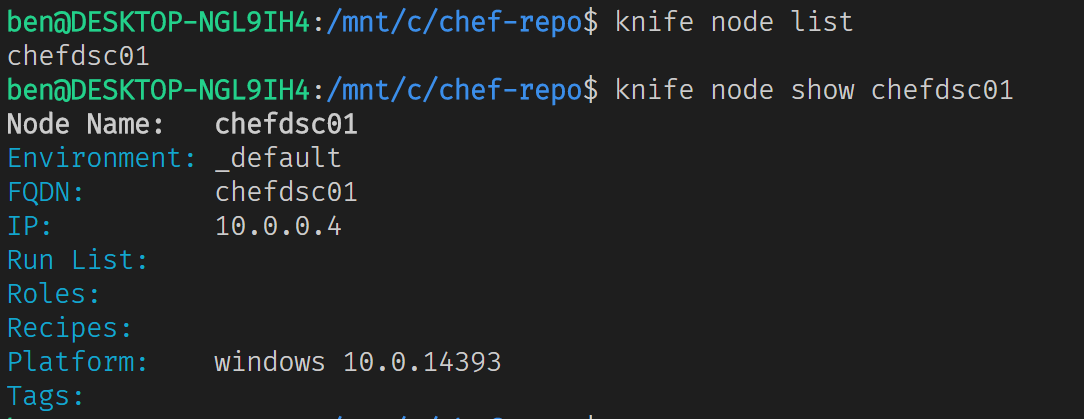
Let’s return to the vs code on our local machine and see if we can enumerate the node.
# enum the nodes known by the chef server
knife node list
# get detailed info
knife node show chefdsc01
Now let’s add a run list to the node and give it something to do. A run list is basically an ordered list of things to do in the format recipe[cookbookname::recipename]. The recipename can be ommitted when only the default.rb is in place (a cookbook can have more than one recipe).
For now let’s use knife to assign the default recipe from our dsctest01 cookbook (could be done in the portal as well).
knife node run_list set chefdsc01 'recipe[dsctest01]'

Let’s go back to the VM and run the chef-client manually again.
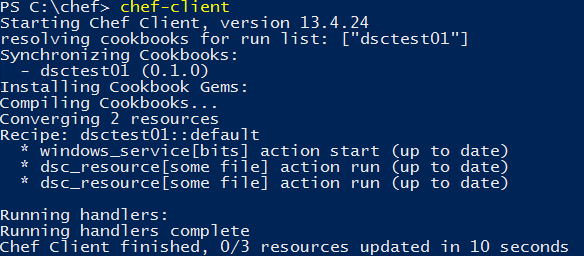
Great! The node pulled down the cookbook and since it’s already in the desired state from the last time, there where no changes.
Let’s introduce a little change by removing the c:\testfile.txt and run it again.
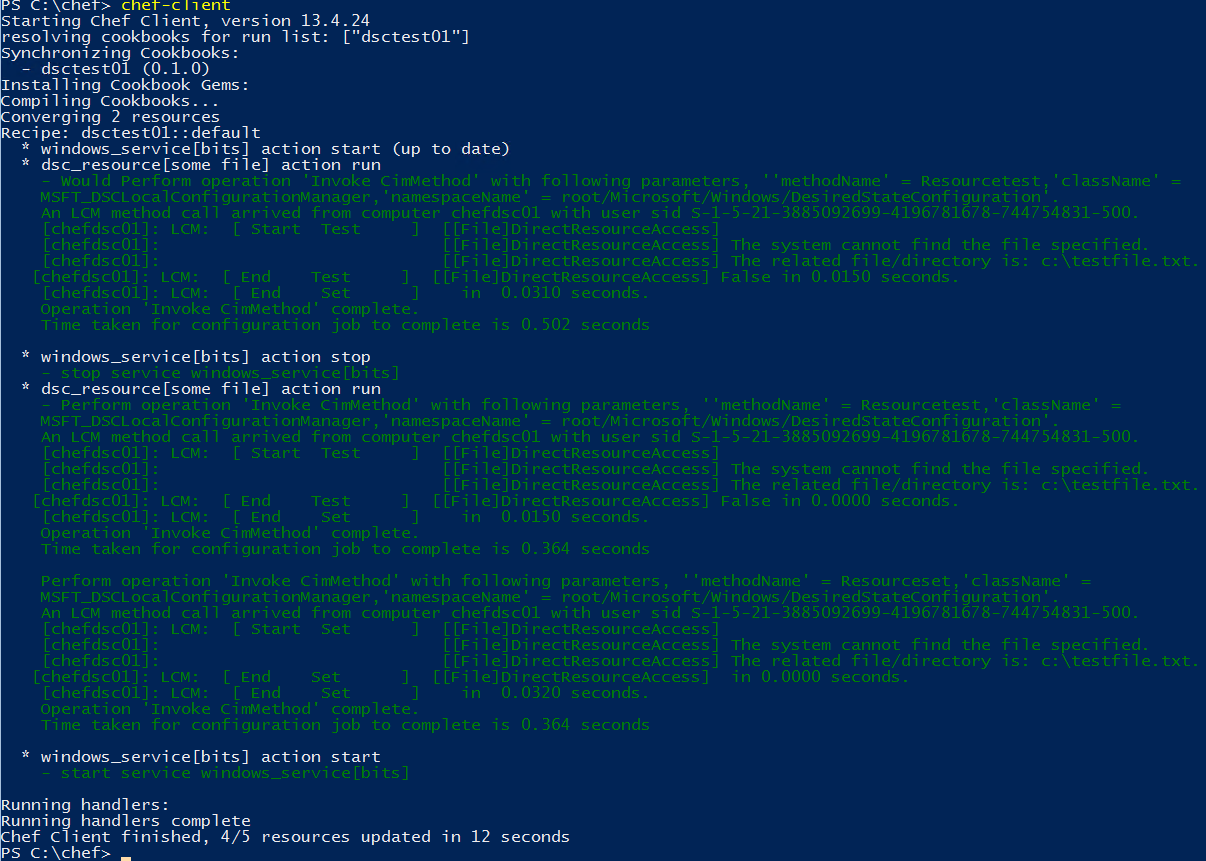
There we have it! So, we staged a configuration on our authoring station by creating a recipe and adding it to a cookbook. Next, we uploaded the cookbook to the chef server. We onboarded a node and assigned a run list. Then the node evaluated the run list, pulled down the cookbook and converged into the desired state in the enact phase.
To be continued!