
In this post I’m going to install a Puppet Server (Master) and try to have my previously installed Puppet agent hooked up to it. From there I’m going to try to have the manifest I previously created to be assigned to the agent. I have no up front knowledge on this at all so if this post feels a bit more pieced together than the previous ones, my apologies :)
Index:
- Part 1: Chef intro
- Part 2: Chef notifications
- Part 3: Chef server
- Part 4: Chef bootstrapping
- Part 5: Chef client settings
- Part 6: Puppet intro
- Part 7: Puppet notifications
- Part 8: Puppet server
- Part 9: Puppet Modules, Roles and more
- Part 10: Puppet bootstrap
As I don’t want to get caught up in all the installation details on the server part, I decided to look for some pre-fabricated images on Azure.
Deploying and configuring Azure Puppet Master Marketplace Item
First let’s see what offers Puppet has in the Azure gallery:
az vm images list-offers -l westeuripe -p Puppet
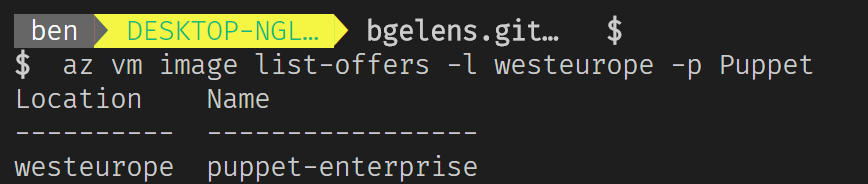
Puppet only offers the Puppet Enterprise edition of Puppet (free to manage 10 Azure VMs) in the Azure gallery. As I understand it, Puppet Enterprise is build on the open source Puppet but comes with additional capabilities and support.
Let’s see what Sku’s are available.
az vm image list-skus -l westeurope --publisher Puppet --offer puppet-enterprise

So we have 2 Sku’s available at the time of writing.
Finally let’s figure out the urn of the image so we can deploy it.
az vm image list --all --publisher puppet --offer puppet-enterprise --sku 2017-2

Let’s see if we can deploy it.
urn = $(az vm image list --all --publisher puppet --offer puppet-enterprise --sku 2017-2 --query '[].urn' -o tsv)
az vm create -g puppet -n vm1 --image $urn
* Note that my default output is configured as table which is why I now specify tsv output to capture only the value of the urn.
This brings something unexpected!

Since this a 3rd party Marketplace item, we need to accept terms first. Luckily we can do this using Azure CLI (be sure to be on version 2.0.26 or up for the subcommand to be available) as well. Let’s try that.
az vm image accept-terms --urn $urn
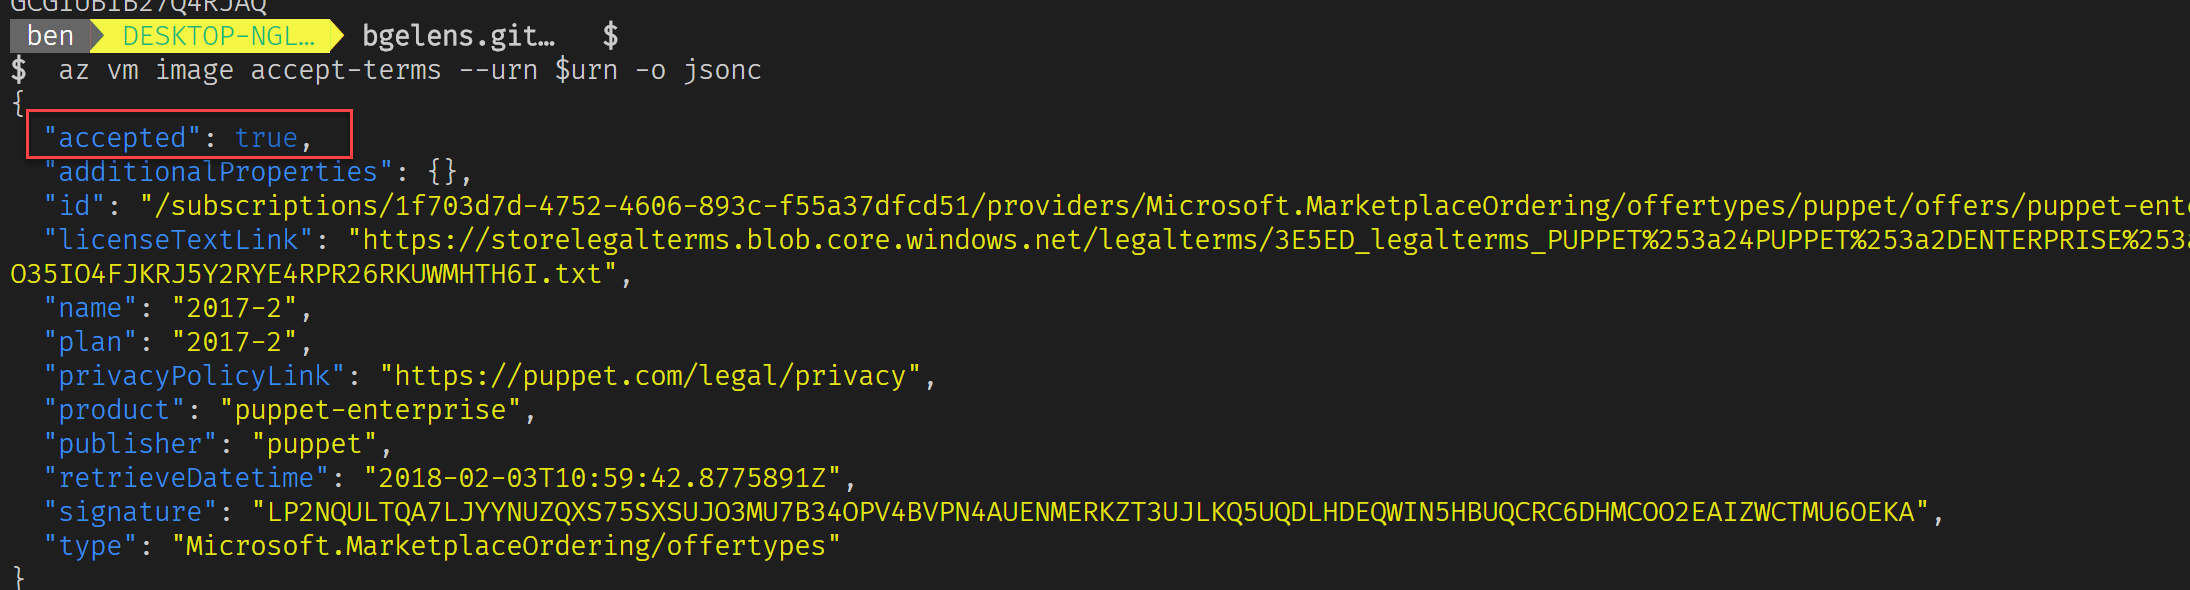
Nice! Now let’s retry that deployment.
az vm create -g puppet -n vm1 --image $urn
az vm create -g puppet -n vm1 --image $urn --admin-username ben --admin-password 'My$uperSecretPa$$w0rd' --public-ip-address-dns-name bgelenspuppet

Notice that when I deployed the VM it attached the NIC to the existing vNet! Let’s try to login to the public IP.
ssh ben@bgelenspuppet.westeurope.cloudapp.azure.com
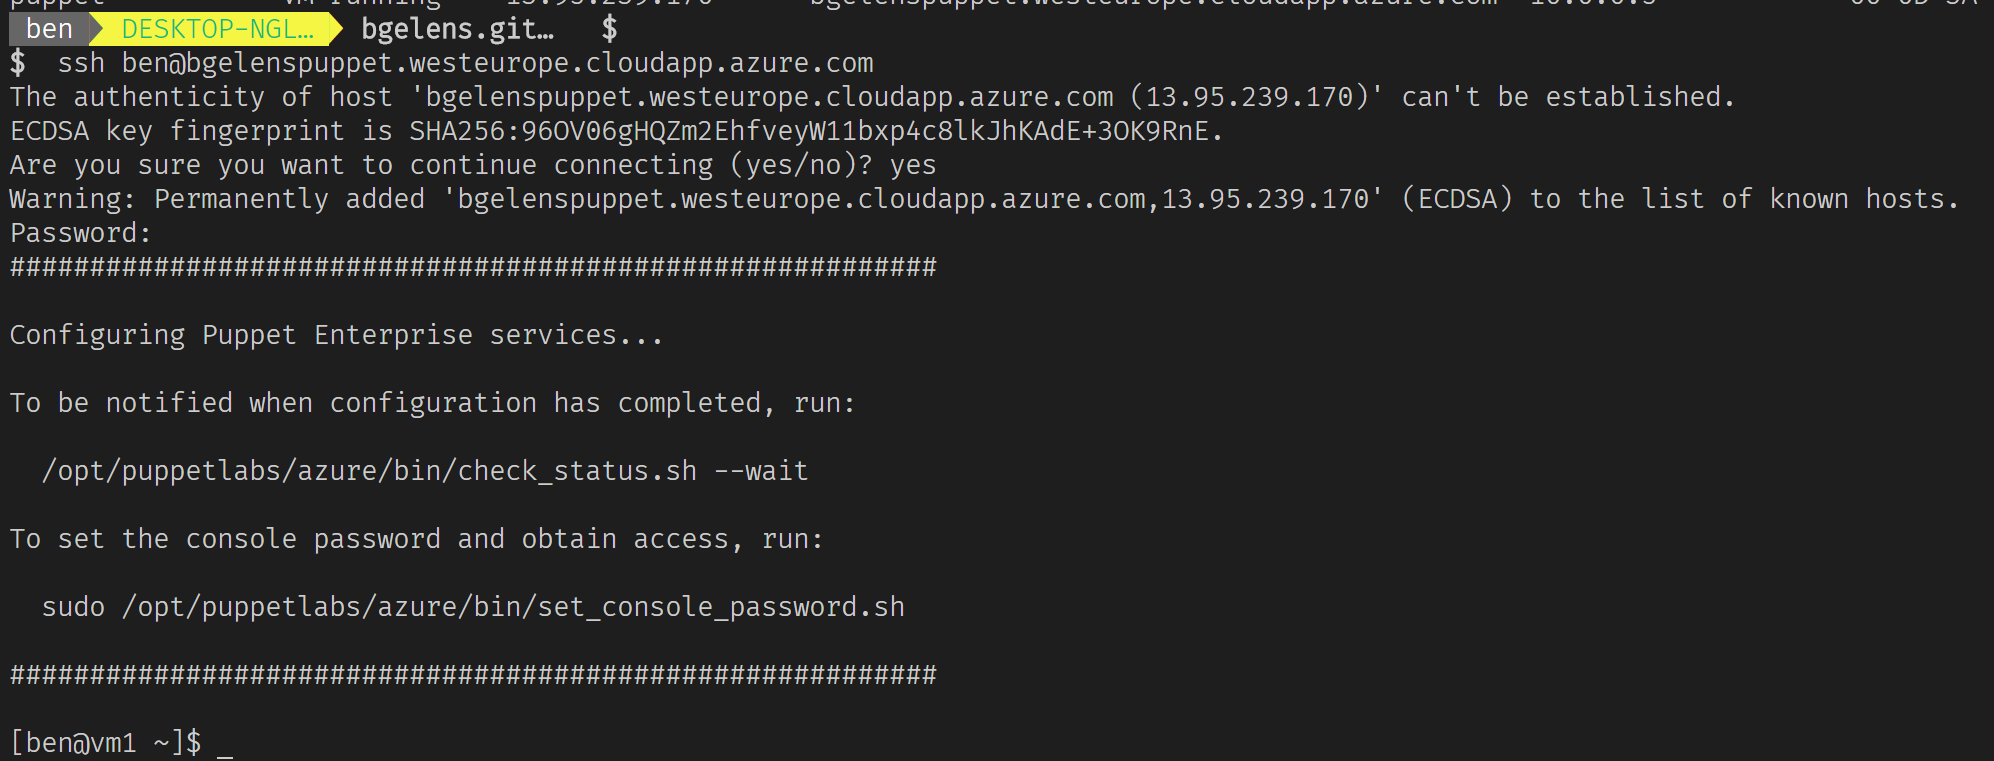
So I have access but it’s clear there is some things to be done here before I can put the Puppet master to work. When you start the suggested wait function for the installation to complete, you wait for nothing! In fact, after troubleshooting this install for some time, I started to think it would be far easier to install the server from scratch. Eventually I decided to do a deployment from the Azure portal to see where things differ and found that the Marketplace deployment from the az cli was missing the OSTCExtensions bit calling into the initialization script. Which is logical of course as I’ve only deployed the images via the cli whereas the Marketplace item in the portal actually packs an ARM template internally containing additional resources. To correct the missing step, let’s just go on with the already deployed VM and start the required script manually:
sudo /opt/puppetlabs/azure/bin/init-pe.sh bgelenspuppet.westeurope.cloudapp.azure.com
It will take some time to complete and won’t produce any output so keep in there :)
Once done, let’s try the suggested command:
/opt/puppetlabs/azure/bin/check_status.sh --wait

The FQDN provided as output is not valid compared to the FQDN we assigned the public IP. Ignore it for now and set the console password as suggested.
sudo /opt/puppetlabs/azure/bin/set_console_password.sh

When this is done, we still need to open port 443 (and some others I found out about while comparing the portal based deployment to this one) on the NSG. Exit out of the ssh session and run the following:
az network nsg rule create --resource-group puppet --nsg-name vm1NSG -n puppet --priority 100 --destination-port-ranges 8140
az network nsg rule create --resource-group puppet --nsg-name vm1NSG -n MCollective --priority 102 --destination-port-ranges 61613
az network nsg rule create --resource-group puppet --nsg-name vm1NSG -n https --priority 103 --destination-port-ranges 443
az network nsg rule create --resource-group puppet --nsg-name vm1NSG -n orchestrator --priority 104 --destination-port-ranges 8142
az network nsg rule create --resource-group puppet --nsg-name vm1NSG -n rbac --priority 105 --destination-port-ranges 4433
az network nsg rule create --resource-group puppet --nsg-name vm1NSG -n orchestratorpcp --priority 106 --destination-port-ranges 8143
Now let’s navigate the public url:
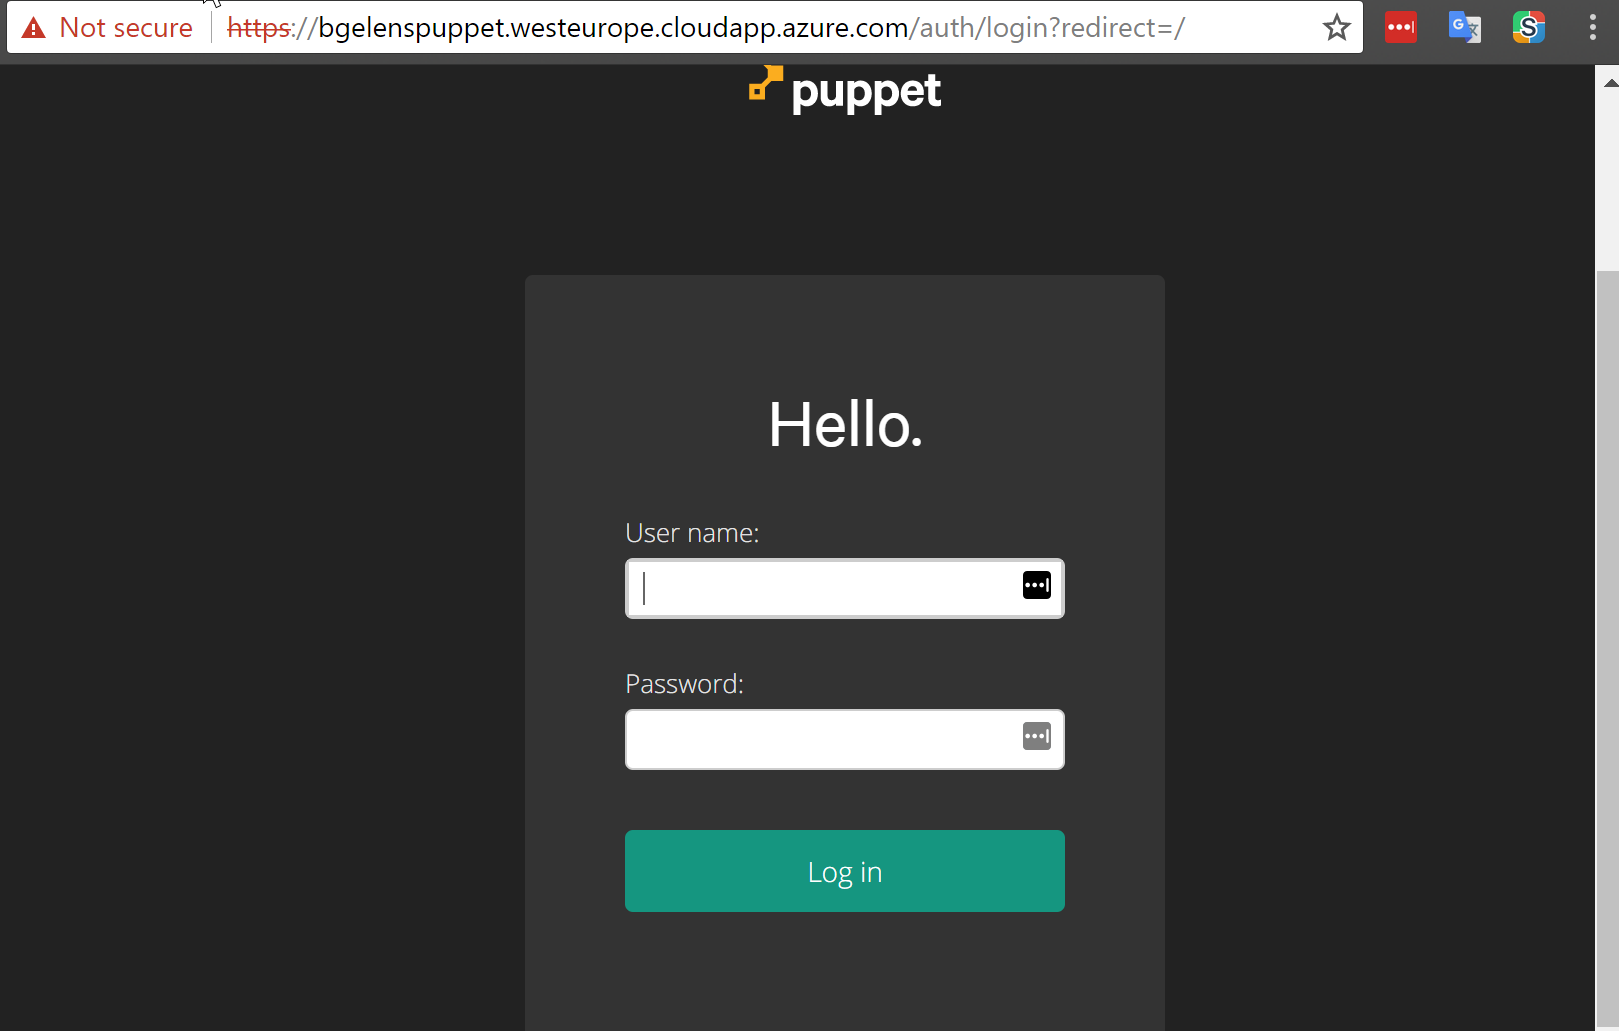
And log in using the console password we just set.
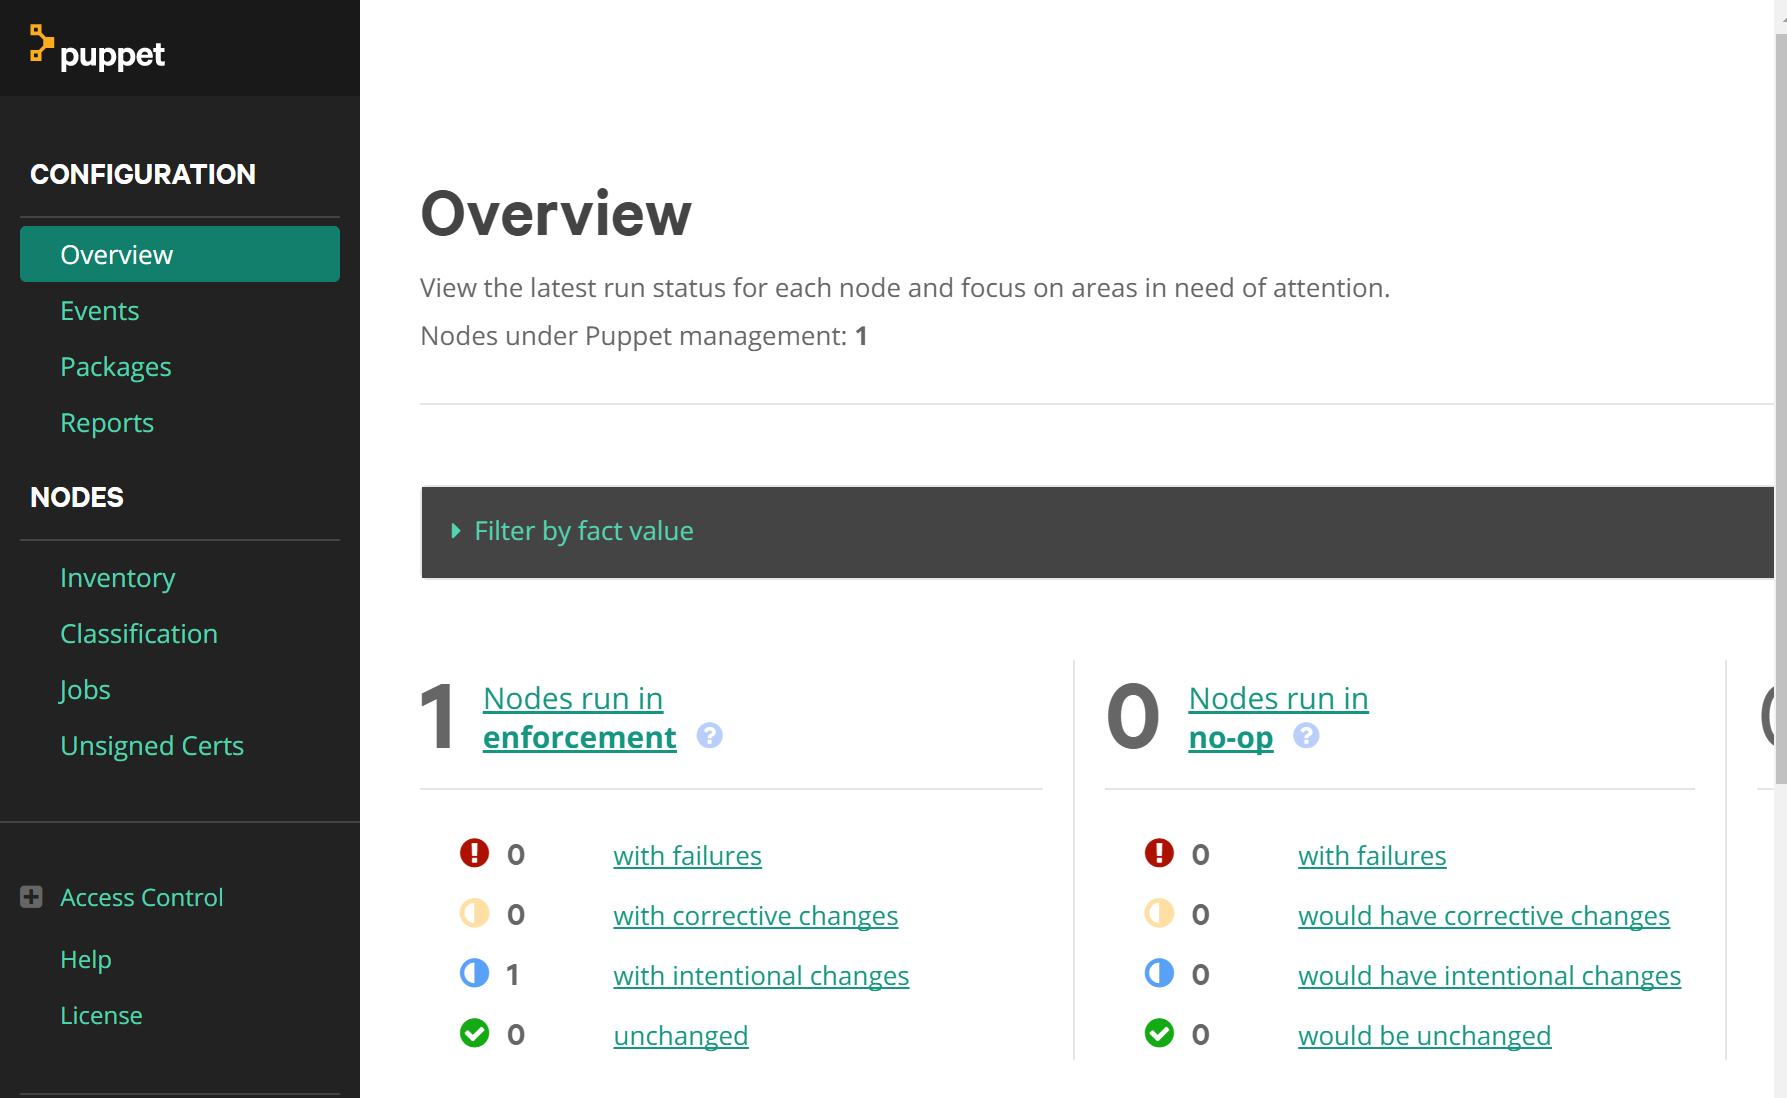
Great!! The server is (hopefully) ready to use.
Adding the first node
Let’s RDP into the VM where we tested the first Puppet manifest. If you don’t have it anymore, refer to part 6 where we deployed the VM. On this VM the Puppet agent is already installed with a faulty server configuration as it didn’t matter at the time.
In Azure, all VMs bound to the same vNet can automatically resolve each other based on their NetBIOS name. So we will configure the Puppet agent using the server VM Name: vm1.
The server configuration is defined in C:\ProgramData\PuppetLabs\puppet\etc\puppet.conf.

Let’s reconfigure with the server to use vm1.
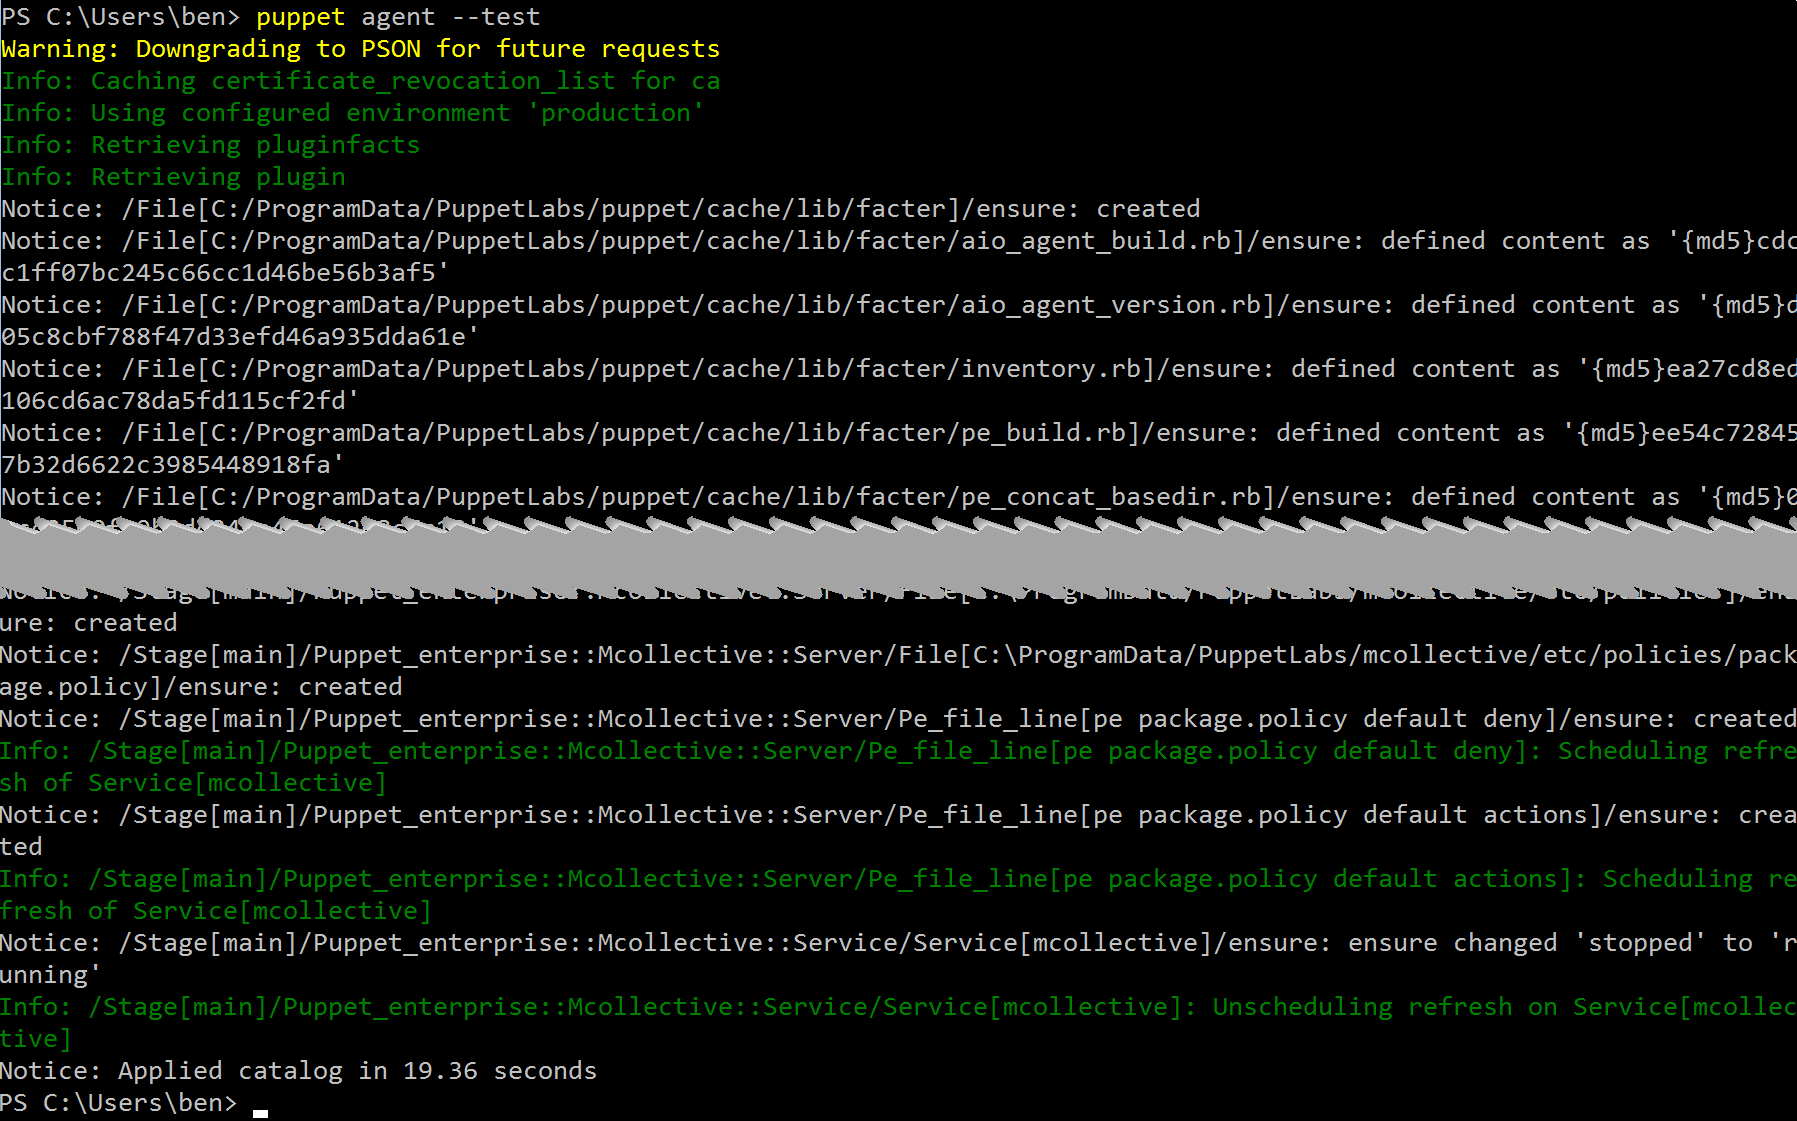
Now we need to figure out how to tell the Puppet agent it needs to try to onboard. When looking at the man pages it seems --test does everything we need for now.
puppet agent --test

Now let’s see if there is anything on the server side waiting for an action.
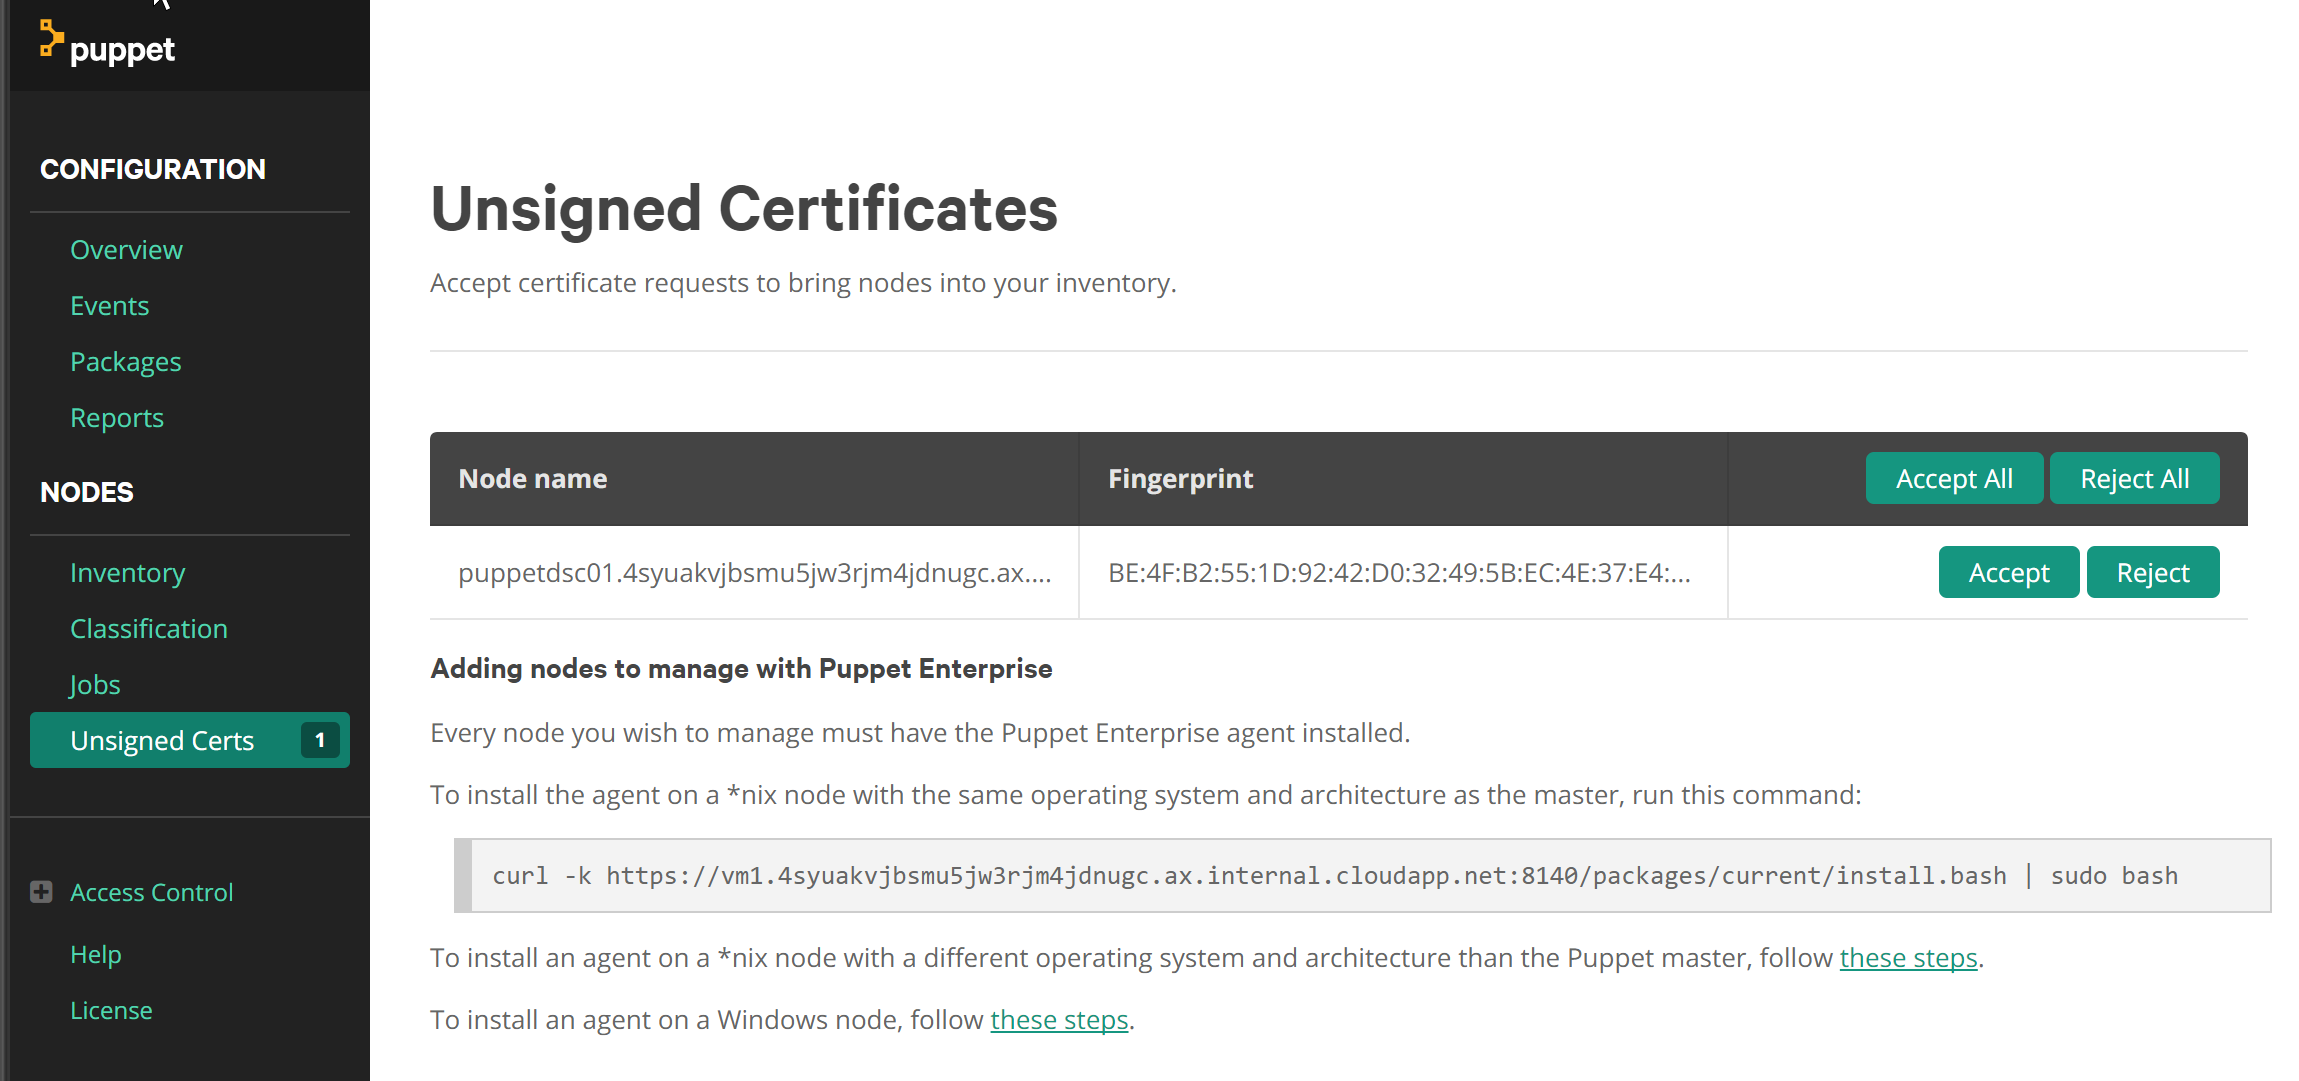
* If you don’t see anything, hard refresh the page!
Hit the accept button and on the Puppet agent run the puppet agent --test command again.

Ouch, it failed as we did not define the puppet server configuration using the FQDN. Let’s adjust the file C:\ProgramData\PuppetLabs\puppet\etc\puppet.conf again with the server value as defined in the error vm1.4syuakvjbsmu5jw3rjm4jdnugc.ax.internal.cloudapp.net and retry.
Success! Now to figure out how to add the manifest to the server and assign it to the node.
Adding and assigning the manifest
With the current implementation we have a Production environment defined in Puppet. This environment is actually represented by a file and folder structure. /etc/puppetlabs/code/environments/production/manifests/site.pp is the current file we are looking for. Let’s edit this file by appending some code.
node puppetdsc01 {
  dsc { 'some file':
    dsc_resource_module_name => 'PSDesiredStateConfiguration',
    dsc_resource_name => 'File',
    dsc_resource_properties => {
      ensure => 'present',
      destinationpath => 'c:/testfile.txt',
      contents => 'some text',
    },
    notify => Service['bits'],
  }

  Service { 'bits':
    ensure => 'running',
    enable => true,
  }
}
This is probably the worst practice ever but I’m just figuring out things so stick with me :)
Puppet compiles the Puppet programs server side (like the mof compilation with DSC) and therefore needs to have the resources installed on the server as well. Let’s install the dsc Puppet module on the server and make it available for the production environment (I’m explicitly installing version 0.1.0 as this was the version I tested with in the previous post. In the mean time, version 0.2.0 has come out with breaking changes).
puppet module install puppetlabs-dsc_lite --environment production --version 0.1.0
Ok, let’s see if we can get the configuration going on the puppet client. First let’s change the content of the file c:\testfile.txt and then run the Puppet agent.
puppet agent --test
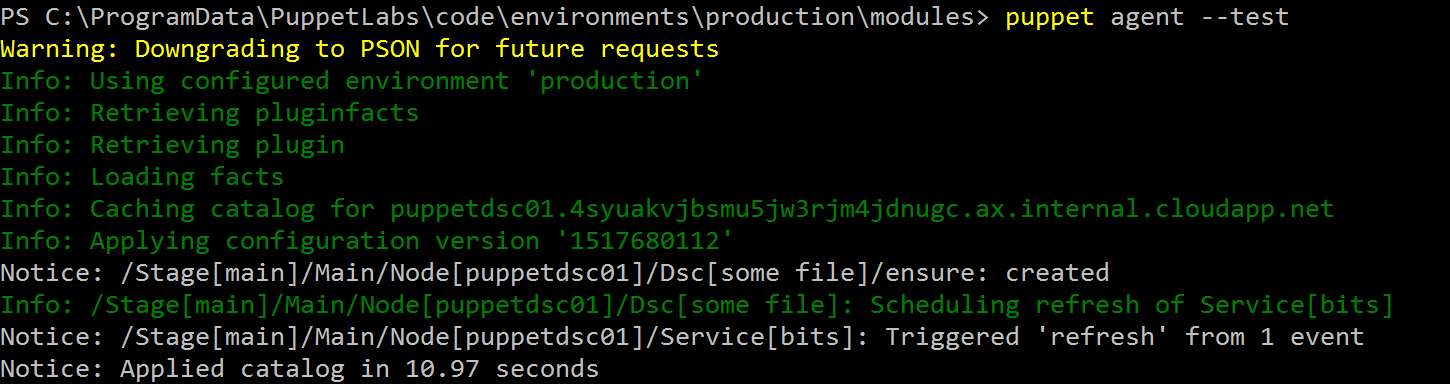
Yes, victory!
Now we have a node talking to a Puppet master and capable of pulling in configurations and modules from it!
To be continued!