
In this post I start my investigation on how to get started with puppet. Again (as with the chef series), the main objective is to see how puppet can improve the experience on using DSC, so the investigation will mainly focus on the integration / interaction between the two.
To be honest with you, I knew a little bit about chef before I started working on that series. Not a lot, but enough to kick start me on that journey. Puppet however is entirely new to me. I know absolutely zero about this configuration management solution. I bet the investigation will be fun and I hope writing about my experiences will be helpful for you as well.
Index:
- Part 1: Chef intro
- Part 2: Chef notifications
- Part 3: Chef server
- Part 4: Chef bootstrapping
- Part 5: Chef client settings
- Part 6: Puppet intro
- Part 7: Puppet notifications
- Part 8: Puppet server
- Part 9: Puppet Modules, Roles and more
- Part 10: Puppet bootstrap
So let’s get started with the first post on using Puppet in combination with DSC.
Puppet
![]()
At the heart of Puppet is the puppet agent which is the engine that does all the heavy lifting. You can compare it a bit with the Local Configuration Manager when talking about DSC. Normally it will operate in conjunction with a puppet master implementation which you can view as the DSC Pull Server or Azure Automation DSC but the puppet agent can run in a standalone fashion as well. Unlike with chef, there doesn’t seem to be a hosted pre-baked Puppet as a service offering so you’ll have to create a puppet server yourself if you want to use puppet in a server / client model. In this post we will stick to the stand-alone model and we’ll investigate the server implementation in a later post.
Deploy a new VM in Azure
I’m going to deploy a new fresh VM for this investigation using azure cli.
az group create -l westeurope -n puppet

az vm create -n puppetdsc01 -g puppet --image MicrosoftWindowsServer:WindowsServer:2016-Datacenter-Server-Core:latest --no-wait --size Standard_DS1_V2 --admin-username ben --admin-password 'My$uperSecretPa$$w0rd'
Now the VM is created, let’s connect to it with RDP and install the latest puppet agent.
Fetch the public IP:
az vm list-ip-addresses -n puppetdsc01 --output table
Install Puppet Agent
The very first thing I’m going to do is to install the puppet agent. The Windows version of the agent can be downloaded here.
When browsing this page, we figure out which version is the latest:
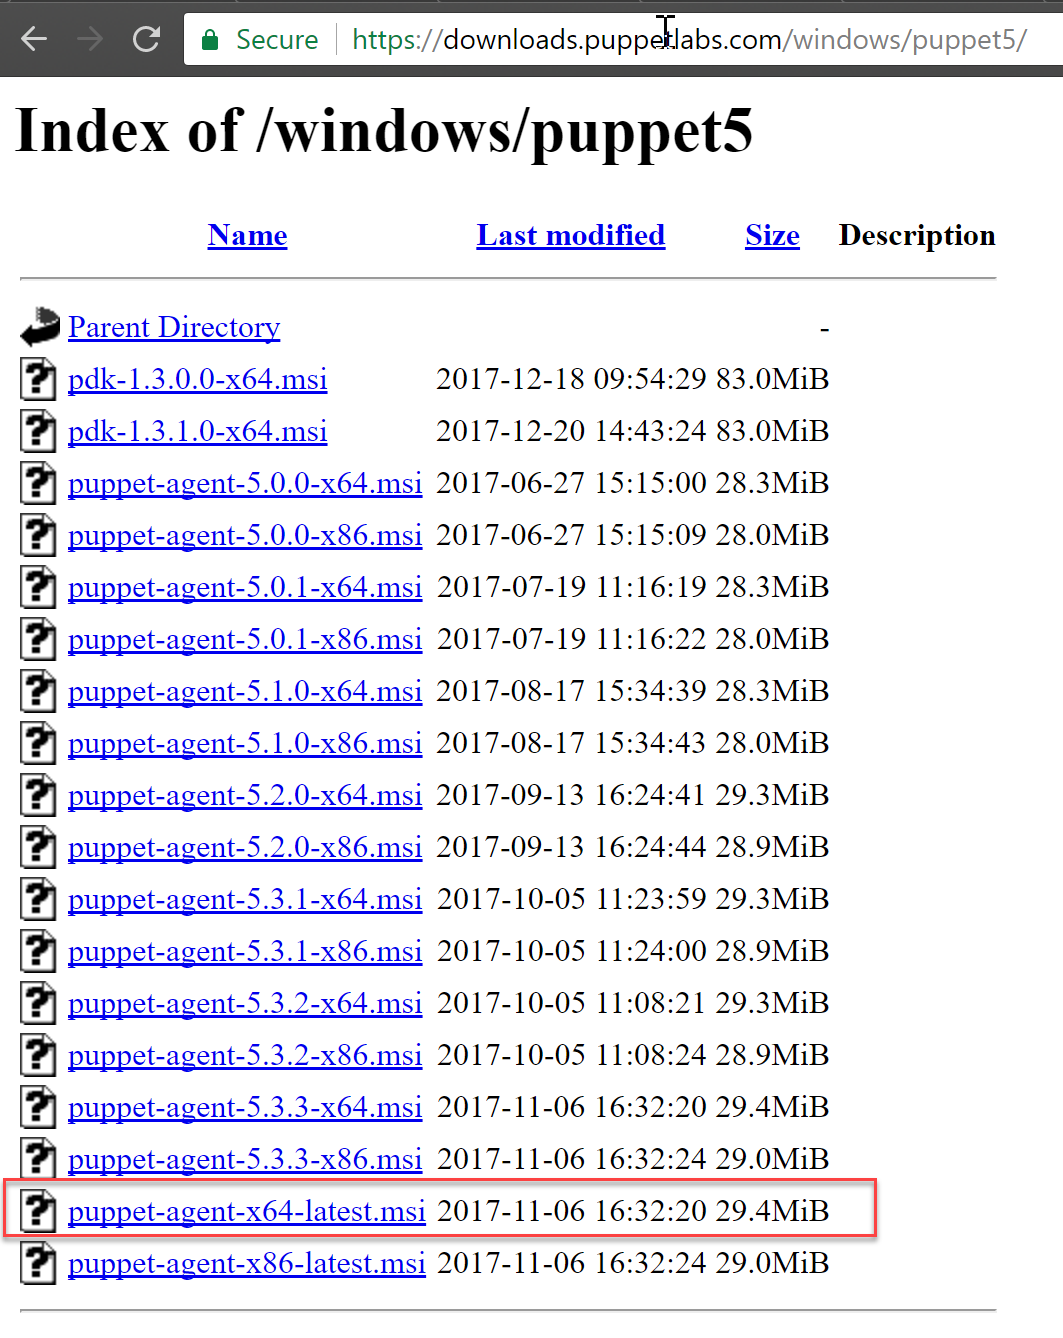
At the time of writing, version 5.3.3 is the latest. Luckily the latest version is referenced by puppet-agent-x64-latest.msi as well so for future downloads, there is no need to revisit this page as we can just target this link.
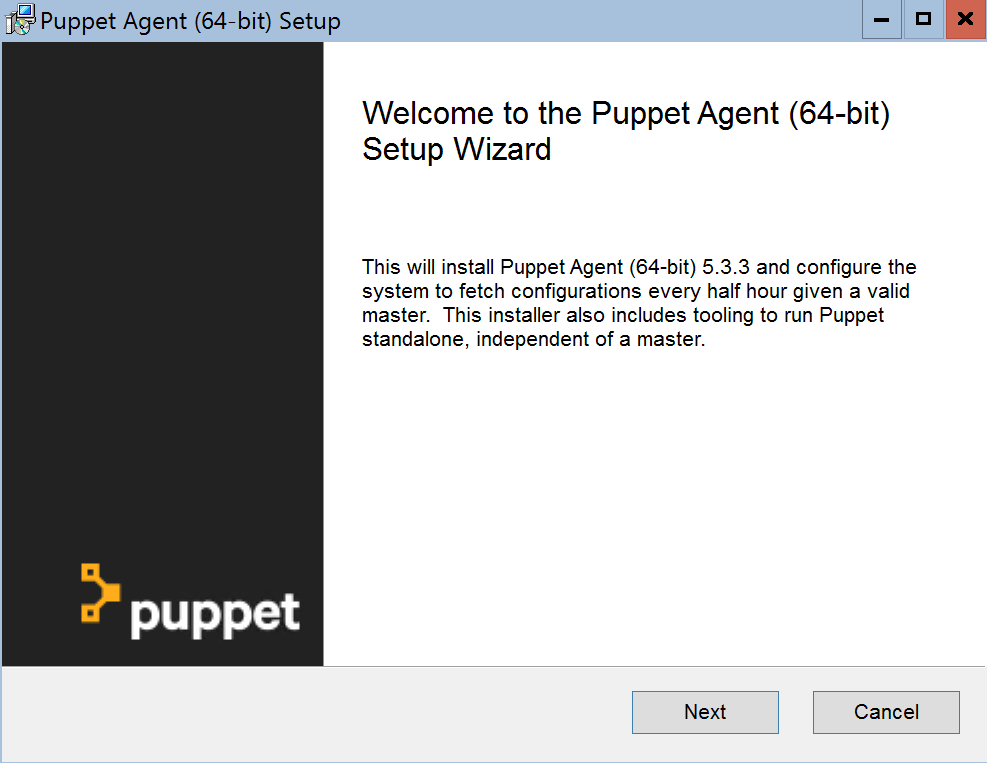
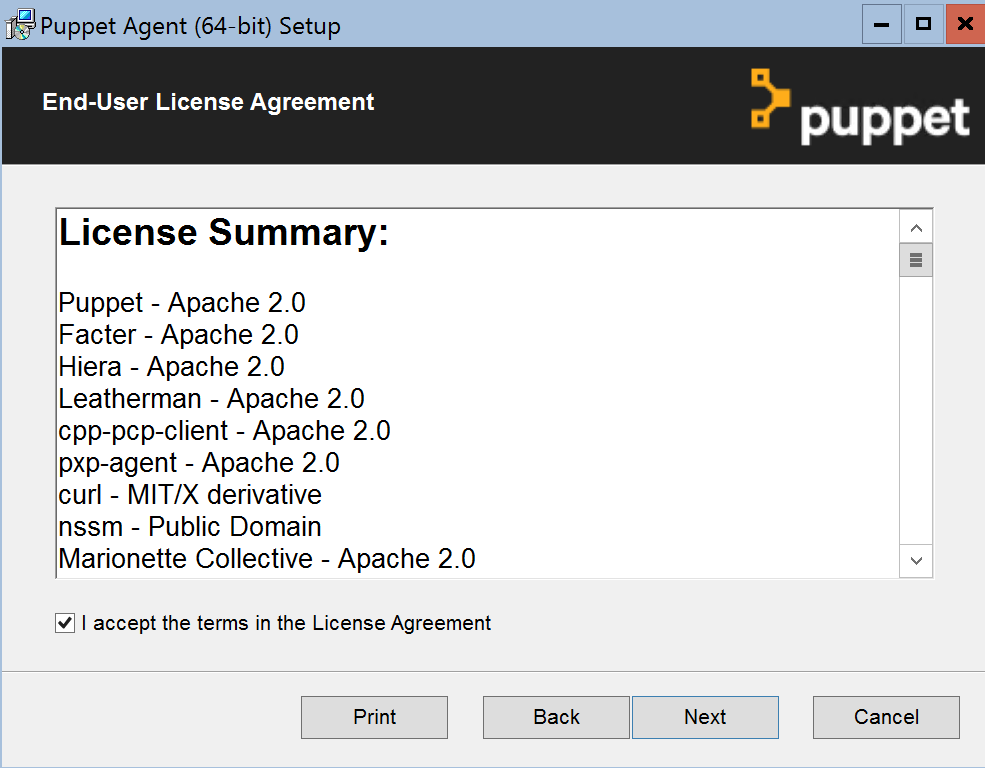
Let’s download and install the agent.
Invoke-WebRequest -UseBasicParsing -Uri https://downloads.puppetlabs.com/windows/puppet5/puppet-agent-x64-latest.msi -OutFile c:\puppet-agent-x64-latest.msi
Unblock-File -Path C:\puppet-agent-x64-latest.msi
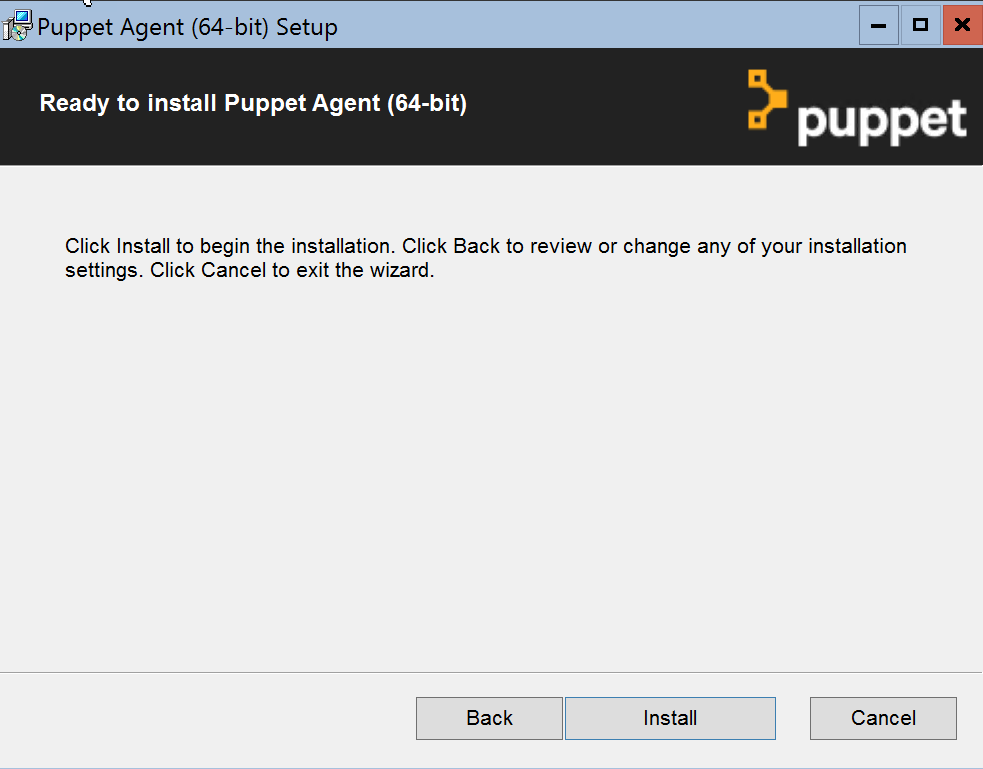
C:\puppet-agent-x64-latest.msi
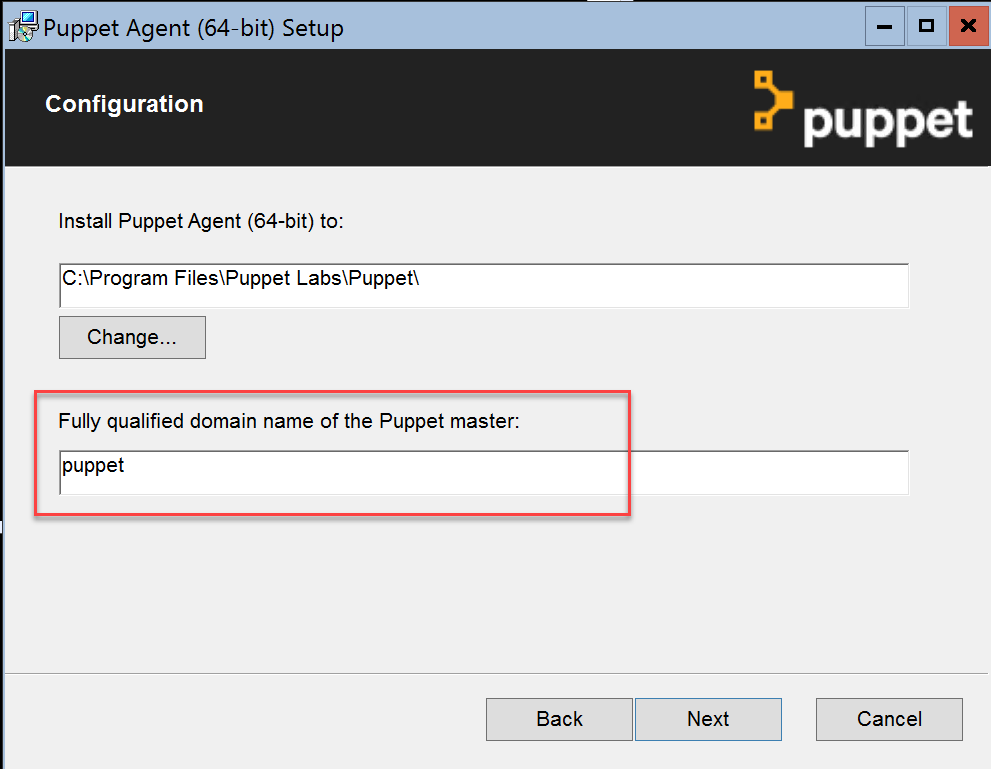
Ignore the puppet master configuration for now. I found that it is not checked if the server exists to continue the installation.

Now that puppet agents is installed. Let’s install vs-code so we have a nice editor available.
Invoke-WebRequest -UseBasicParsing -Uri https://go.microsoft.com/fwlink/?Linkid=852157 -OutFile c:\vscode.exe
Unblock-File -Path c:\vscode.exe
C:\vscode.exe
Make sure you select the option that code would be added to the Path. Logoff and log back in again.
I’ll install the PowerShell extension and the official puppet extension (not sure yet if it will be beneficial but it will probably help!)
code --install-extension ms-vscode.PowerShell
code --install-extension jpogran.puppet-vscode
Start Small
As I did with the first post in the Chef series, I’ll try to start as small as possible and work my way up from there. The smallest configuration fragment with puppet is called a manifest. It is a file containing resource defintions (simular to a DSC configuration script).
Let’s create a folder in the root of the c drive and call it puppet. Now open code at this folder and create a new file called dsc01.pp. The pp extension stands for puppet program as far as I can tell.
Start typing a few letters of the word resources and you’ll see the puppet vs code extension suggesting a code snippet to use.
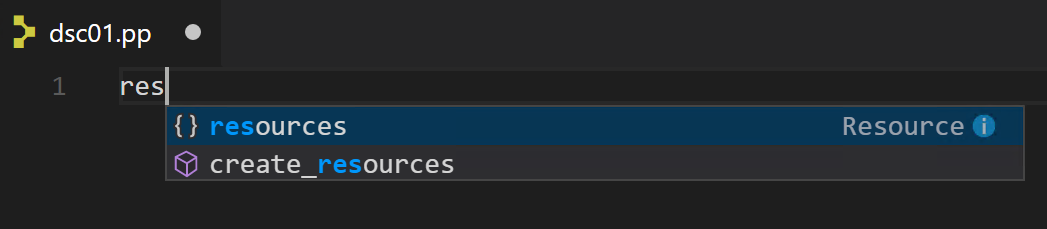
Use tab to insert it.
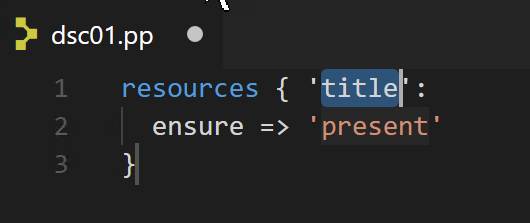
Great! Now we know how a resource defintion looks like with puppet. Manifests are written in the puppet language.
Puppet uses its own configuration language, which was designed to be accessible to sysadmins. The Puppet language does not require much formal programming experience and its syntax was inspired by the Nagios configuration file format.
From the puppet man pages
resources { 'title':
  ensure => 'present'
}
When investigating the snippet provided to by the vs code extension, I found the puppet man page describing resources.
The resources word would be replaced with a resource type (resource name). The title can be mapped to the name attribute of a resource but this isn’t required (can be overwritten by specifying the attribute). The title needs to be unique within the manifest per resource type (just as with a DSC configuration).
We want to use a DSC resource so we need to find the resource type that enables this functionality. The puppet agent ships with a couple of resources of which the types can be found using puppet resource --types.
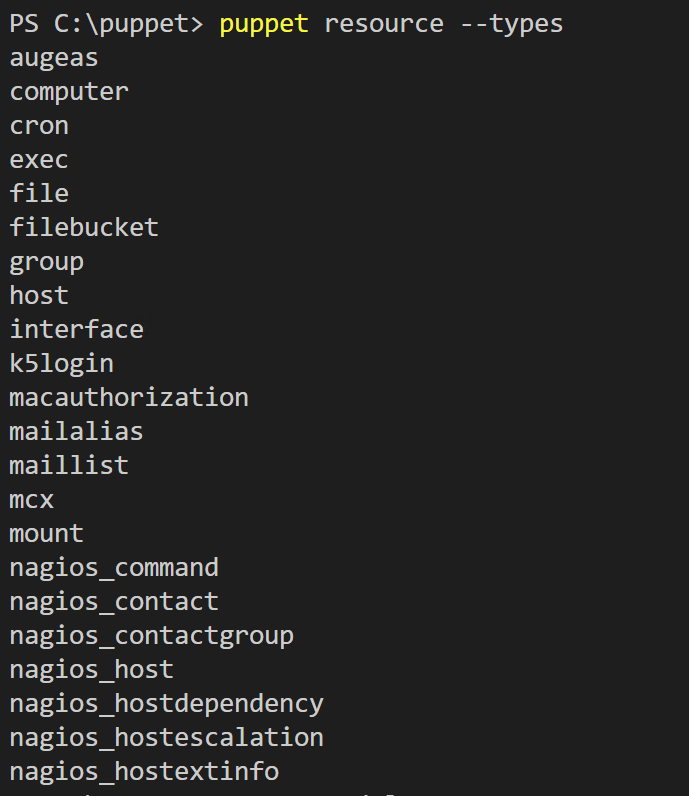
As you can see, the inbox resource types don’t show anything related to DSC. So we already know we need to expand the known resource types in some way to make use of DSC resources. So how do we extend the resource types (add more puppet resources)? You guessed it, using modules.
You can find and install modules from a place called puppet forge. The command line information is located here. Puppet forge is like the PowerShell gallery and chef supermarket. When we search for DSC, two modules by puppetlabs are what we are looking for.
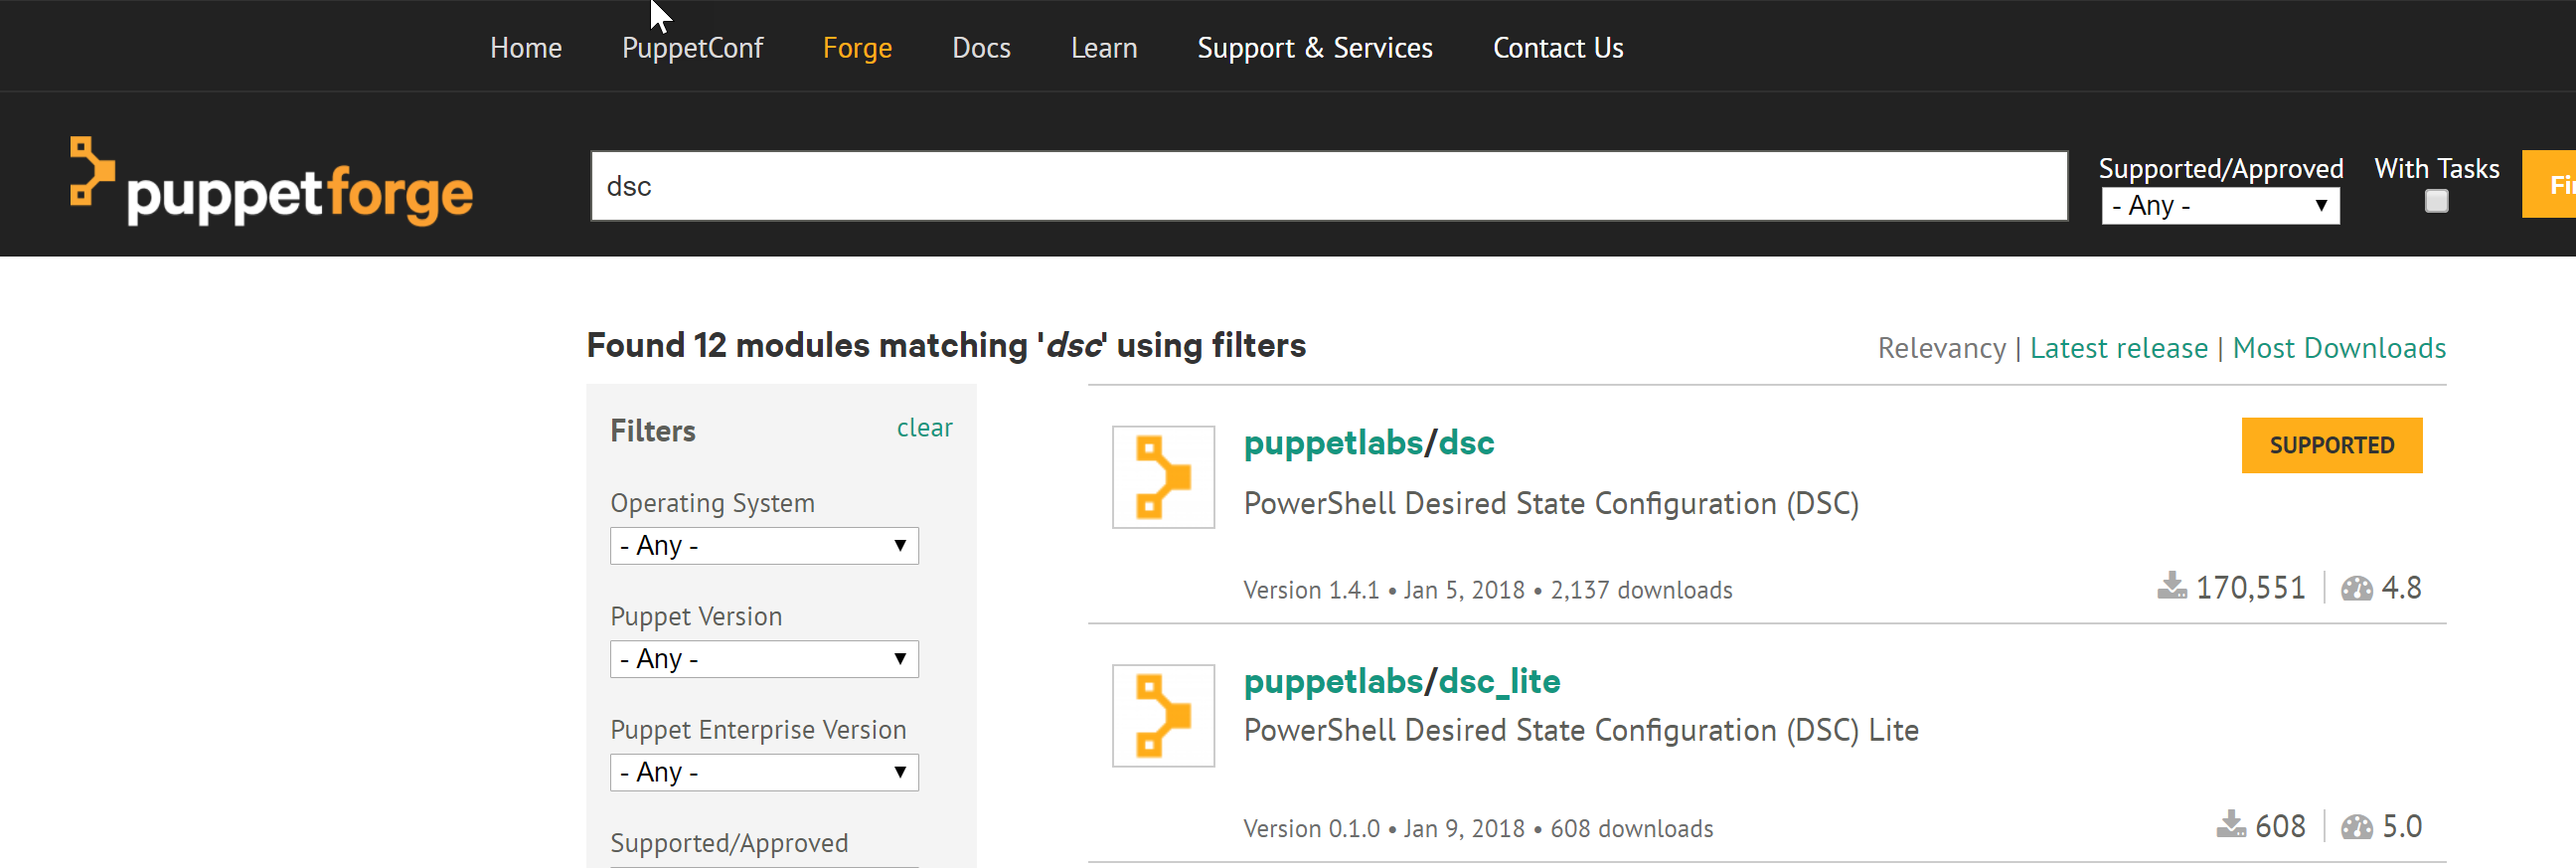
- dsc
- dsc_lite
After some research I found that for me, dsc_lite is the way to go. Let me elaborate on why.
dsc module
The dsc module can be found here. It is developed on GitHub. It is good to know that usage of this module is supported and the dsc_lite module is not.
The advantage of using this module is that the DSC resources it support (inbox and mof schema based DSC resource kit resources) are included with the module. There is no need to distribute the resources to the managed nodes via other means. Intellisense with the vs code extension is picked up as the supported DSC resources are represented as puppet resource types and therefore the required info is included. The disadvantage is that if you want to include non-included DSC resources, you need to build your own version of the module and do some work to include your resource.
dsc_lite module
The dsc_lite module can be found here. It is developed on GitHub. This module is not supported, unlike the dsc module.
The advantage of using this module is that it works with any DSC resource (inbox, DSC resource kit, custom, class, etc.) that is installed on the managed node. You can see the dsc_lite module as the equivalent of the chef dsc resource resource. Disadvantage is that you need to do more manual work to map attributes correctly.
It’s always good to know a little on how things work under the covers so I looked at the module code for a bit. Both modules make use of Invoke-DscResource under the covers by mapping to the DSC Test and Set methods. The logic is defined in an erb (Embedded Ruby Block) template which is a template containing inline Ruby statements that will be executed (e.g. variable expansion or calling ruby functions) at evaluation time resulting in the desired content. The erb template is used by the puppet PowerShell provider contained in the module.
Let’s install the dsc_lite module and see how we make use of it.
First, let’s see what modules are installed by default:
puppet module list

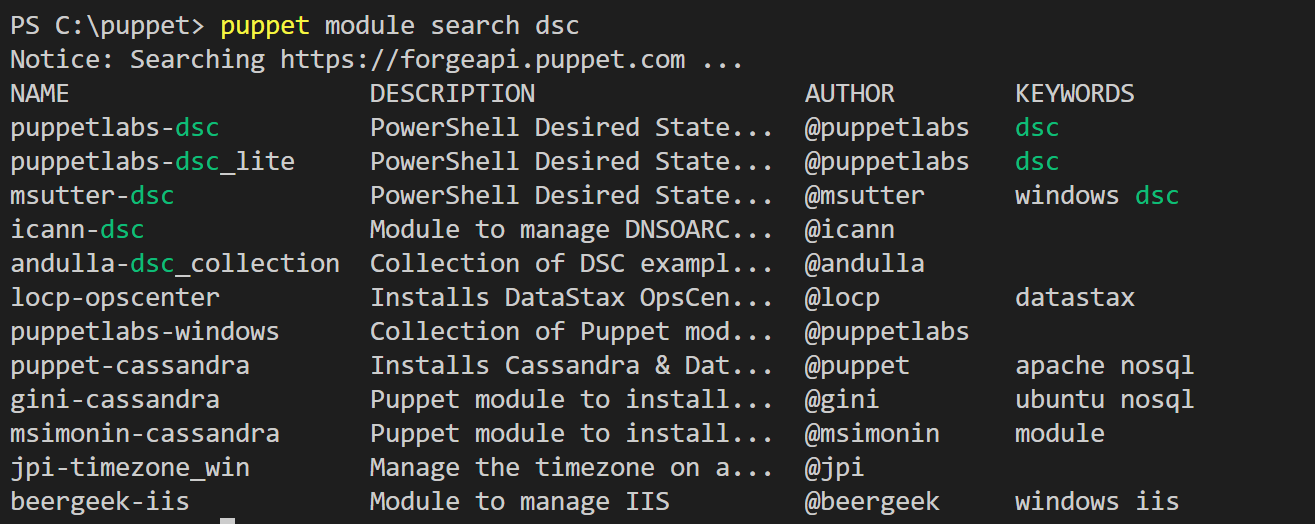
Now let’s find the module we want via the command line.
puppet module search dsc
Now we know what name to use, let’s install the lite module.
puppet module install puppetlabs-dsc_lite

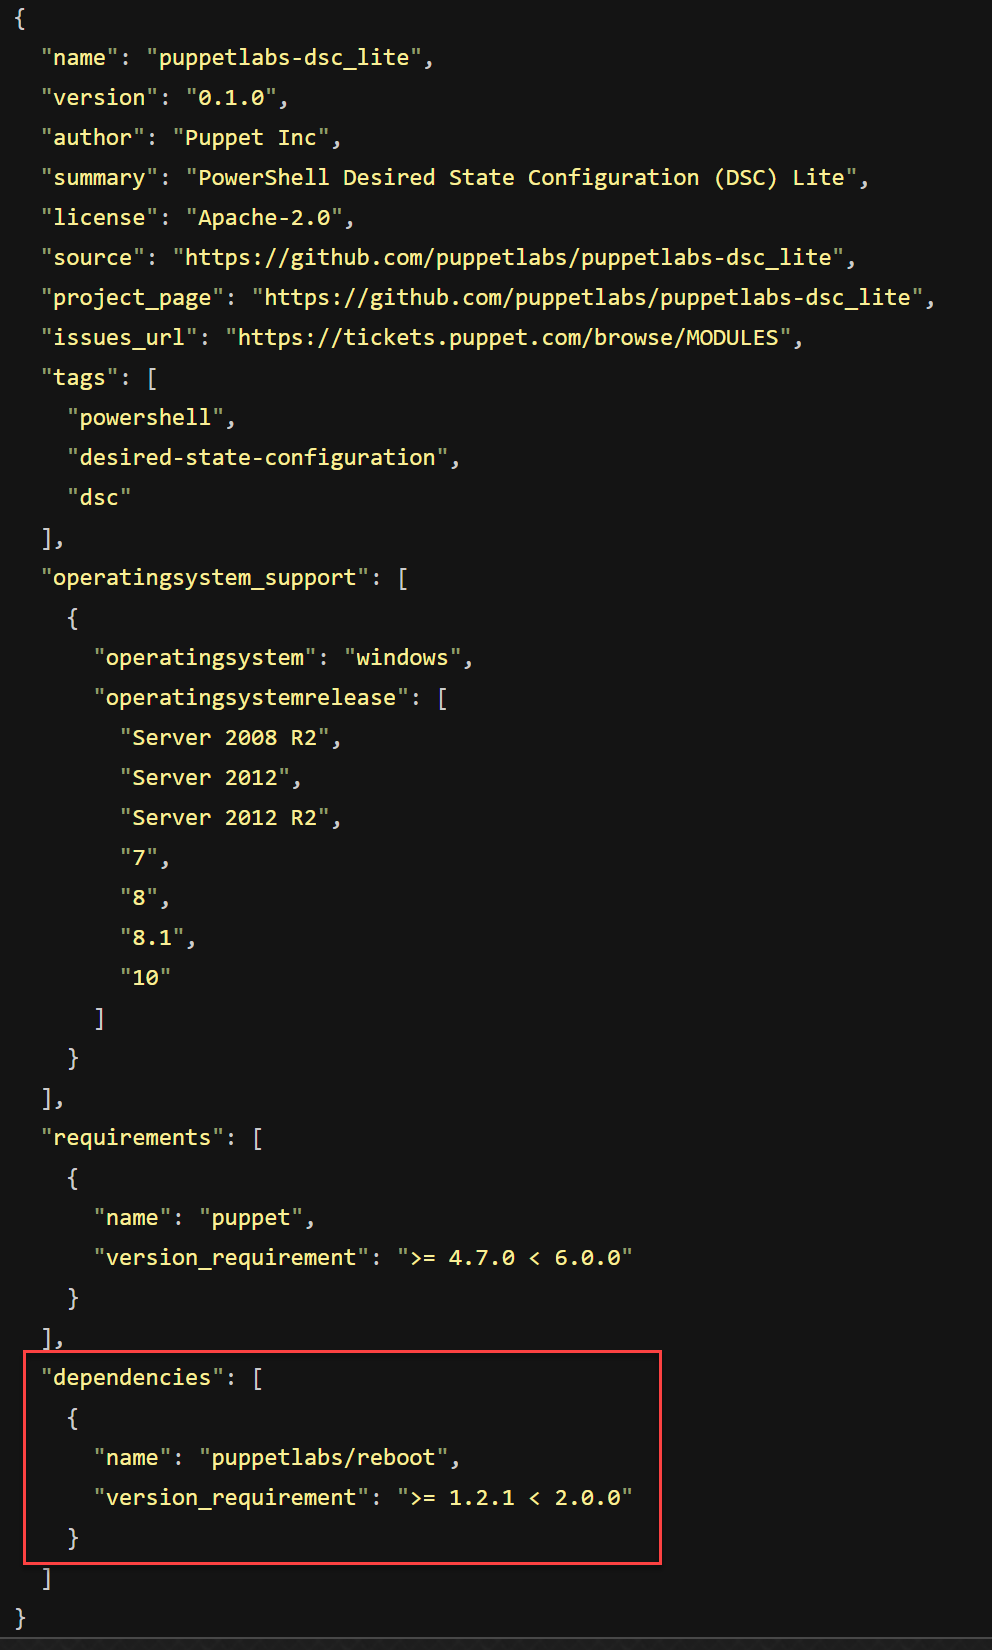
From the looks of it, the module install command also installs dependent modules. When checking the module metadata.json, you can see that dependencies are governed there.
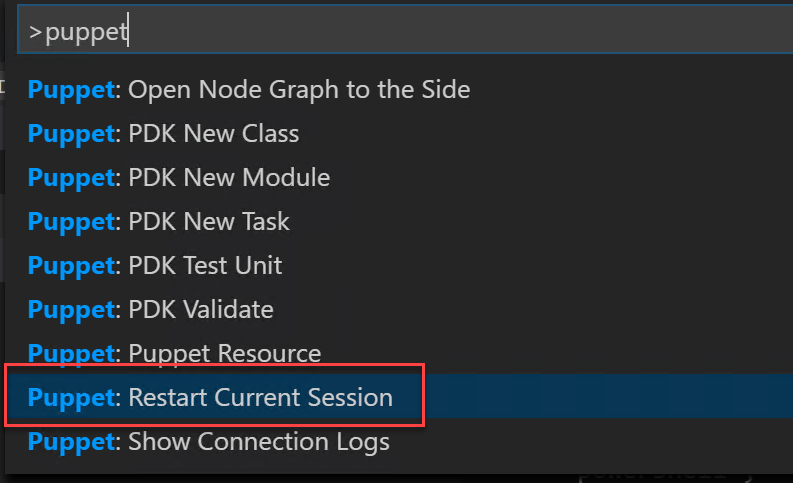
Now we need to tell the puppet vs code extension to restart (I noticed that it uses a cache so you won’t see it providing anything you just installed before you reload it).
And now we are finally ready to create that first puppet manifest to consume a dsc resource. I’ll go with the same example I used for Chef and make use of the inbox dsc file resource.
First let’s type the word dsc to see if the extension gives us something.

Cool! Now let’s see if is able to give us some insight on the attributes to use (you could of course just read the documentation but I think helpful tooling really speeds up the learning).
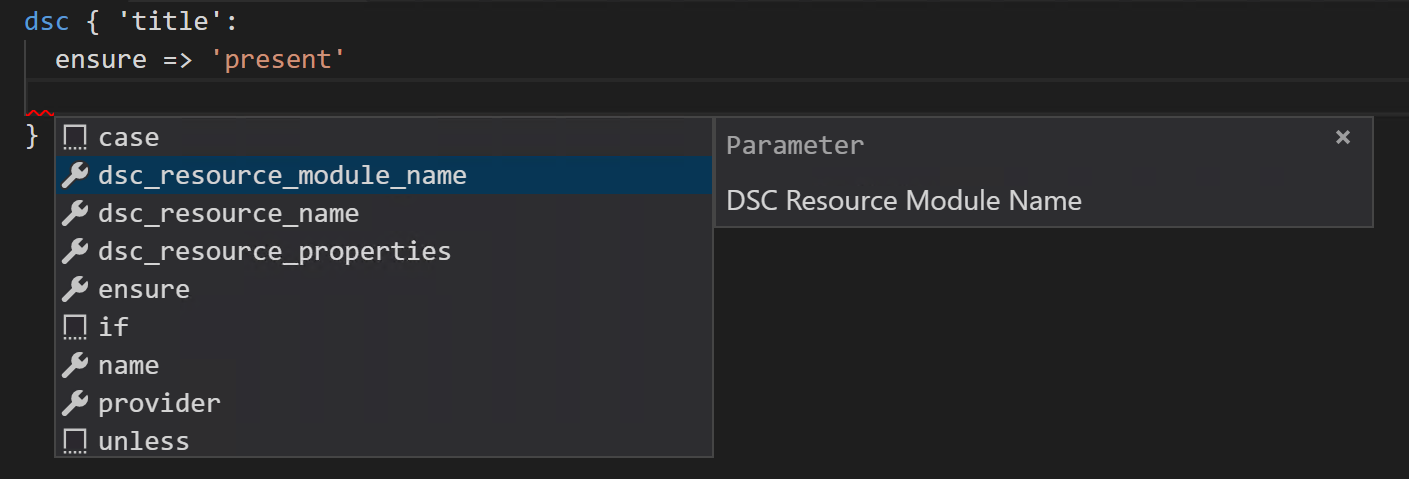
This extension is proving it’s worth right from the start! Let’s look at a completed resource definition.
dsc { 'some file':
  dsc_resource_module_name => 'PSDesiredStateConfiguration',
  dsc_resource_name => 'File',
  dsc_resource_properties => {
    ensure => 'present',
    destinationpath => 'c:/testfile.txt',
    contents => 'some text',
  }
}
NOTE: Be sure to specify all DSC resource property names in lower casing or else puppet won’t find the types
Let’s apply this manifest. In a standalone implementation a manifest can be applied using the puppet apply sub command.
First let’s try --noop mode which basically is a WhatIf.
puppet apply .\dsc01.pp --noop

As you can see, puppet is telling you what would be done when run without the noop parameter specified.
Now let’s run it without the noop parameter.
puppet apply .\dsc01.pp

If you want more verbose output you can add the --debug parameter.
That’s it for this post. We have seen how DSC resources can be consumed by puppet and this was my main first goal. To be continued!