
In the last few post we looked at a wide range of Chef functionalities that offer a rich experience when working with DSC resources. They key here is that you don’t use the DSC LCM at all. Basically we interchange the LCM for the chef client and have it consume DSC resources while ignoring everything else.
In this final post on using Chef with DSC (for now at least, I’ll move on to other products next) we will look at how we can manage the chef client to pull down changes and send back report data on an interval basis as we would do when configuring the LCM. The cool part here is that we can do this through a cookbook as well so once a chef client gets bootstrapped, it can apply the chef client settings together with the desired recipe. These chef client settings can than be adjusted later on as the client will pull down changes at a later interval. Would be nice feature for DSC on it’s own if we could have the LCM pull down an updated meta setting right?
Index:
- Part 1: Chef intro
- Part 2: Chef notifications
- Part 3: Chef server
- Part 4: Chef bootstrapping
- Part 5: Chef client settings
- Part 6: Puppet intro
- Part 7: Puppet notifications
- Part 8: Puppet server
- Part 9: Puppet Modules, Roles and more
- Part 10: Puppet bootstrap
Configure the chef-client
chef client cookbook
By default, the chef-client will only run on demand. You have some options during the installation of it to have a service created or a scheduled task. However I have noticed in various blog posts that it is common to use a Chef cookbook named chef-client to handle the configuration of the client. In a previous post, I have deployed the chefdsc03 VM and deployed the Chef VM extension to have it bootstrapped as well. Note that I specified the daemon option of the extension as none to reflect the default installation option, this means there currently is no service or scheduled task that triggers the chef client. So besides its initial run, the chef-client won’t run until triggered manually again.
Let’s download this chef-client cookbook. Make sure you are in your chef-repo directory!
knife cookbook download chef-client -d cookbooks
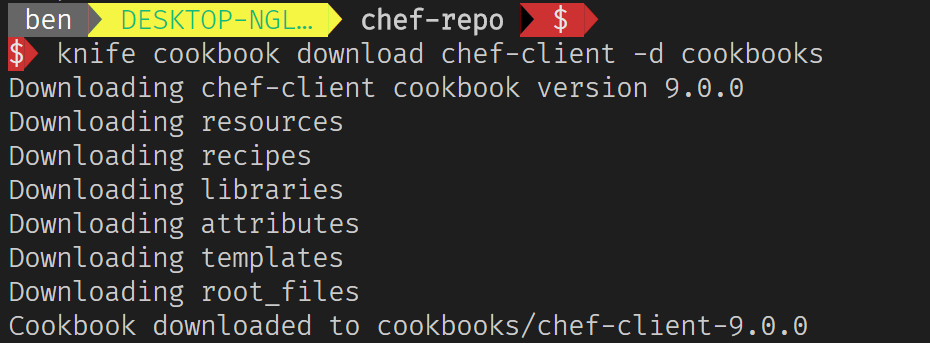
The -d switch specifies the path where the cookbook should be downloaded to and we want it to be located with the other cookbooks.
The chef-client cookbook has some dependencies on other cookbooks (just like we can have dependencies in PowerShell modules). We can inspect what dependencies it has by looking at the metadata ourselves or by checking it with knife.
knife deps cookbooks/chef-client-9.0.0/
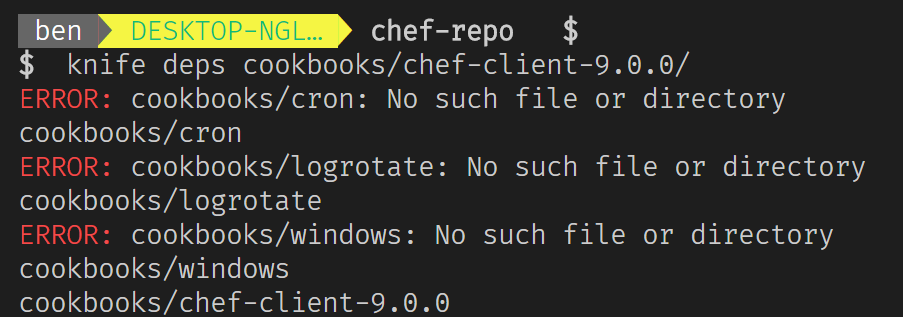
As you can see, knife cookbook download did only download the specific cookbook and none of its dependencies (these are the missing errors). We could download them again using the same knife cookbook download sub-command but after some investigation I figured that we need another tool (luckily shipped with the ChefDK) for this called berkshelf or berks. I won’t go into much detail as all is explained pretty well at the link provided earlier.
First, we need to create a Berksfile containing the metadata of the cookbook we want to have the dependencies resolved and installed / downloaded.
cat >Berksfile << EOF
source 'https://supermarket.chef.io'
cookbook "chef-client"
EOF
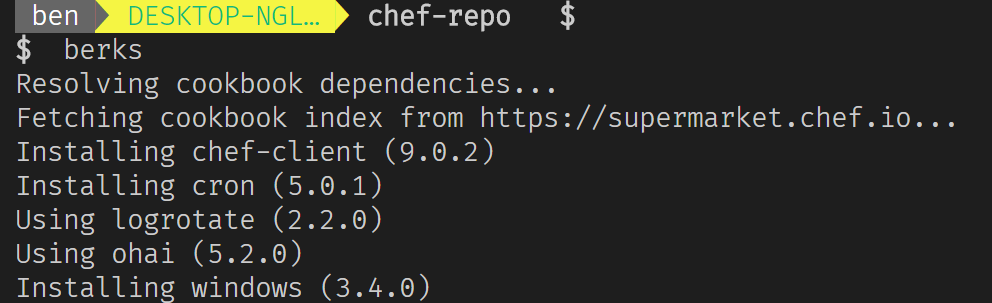
Simply running berks install now, will download the missing cookbooks and install them.
Now we need to upload these cookbooks to the chef server.
berks upload
Now the Chef Server has the cookbooks required so that a node can download all the required cookbooks to run a recipe from the chef-client cookbook.
Chef roles
Now we have uploaded the cookbook required to configure the chef client we need to define some node attributes. You can think of attributes as meta data or properties which can be evaluated. The attributes used by the chef client runbook are documented here: https://github.com/chef-cookbooks/chef-client#attributes.
Specifically we are want to configure the chef_client.interval and chef_client.splay attributes here which will define:
- chef_client.interval - number of seconds between chef-client daemon runs
- chef_client.splay - a random amount of seconds to add to interval so not all nodes will talk to the server at the same time
Defining these attributes for a node can be done by defining a chef role. Not only can we add node attributes through this, we can also define the required run-list and some other settings.
Creating a role is explained at the earlier link. In this case we’ll difine a simple role as a json and then have it created on the chef server.
{
   "name": "common",
   "description": "Common server role.",
   "json_class": "Chef::Role",
   "default_attributes": {
     "chef_client": {
       "interval": 300,
       "splay": 60
     }
   },
   "override_attributes": {
   },
   "chef_type": "role",
   "run_list": ["recipe[chef-client::default]",
                "recipe[chef-client::delete_validation]",
                "recipe[dsctest01::default]"
   ],
   "env_run_lists": {
   }
}
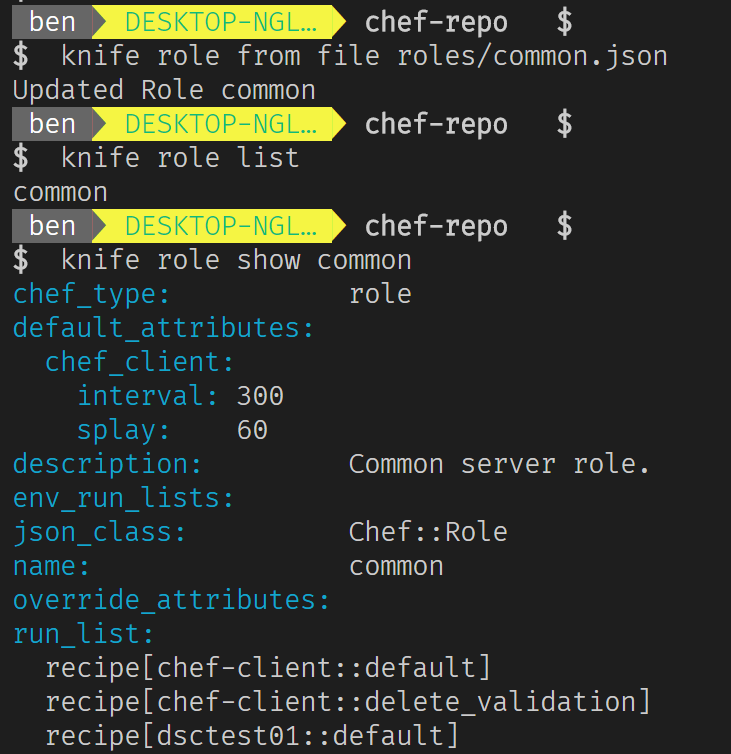
You can see from this json that the interval will be 300 seconds with an additional maximum amount of random seconds of maximum 60. Also, the run-list contains some additional recipes like our own dsctest01 recipe but also the chef-client default recipe (which will configure the scheduled task) and the chef-client delete_validation (which will remove the org validator key which is only required during onboarding) recipe.
It is possible to assign multiple roles to a node. You can probably see that this is a very powerful way of segregating the more common configurations (in something like a base server role) from the more specific role recipes (into for example a web server role).
Save the json to a file (I called mine common.json as the role is called common) and let’s upload it to the chef server.
knife role from file roles/common.json
knife role list
knife role show common
Now what is left is to assign the role to a node (I will assign it to chefdsc03) and because the chef client is not configured to run on an interval yet, we need to trigger it on demand one last time (I will use Azure ClI for this as the node doesn’t have public endpoint). Assigning a role is done by adding it to the node’s run list. The notation is similar to the recipe notation. In the roles’ case it is role[rolename]
knife node show chefdsc03
knife node run_list set chefdsc03 'role[common]'

Now to trigger the chef-client to run we again use Azure ClI run-command sub-command (see previous post for more detailed example).
az vm run-command invoke --resource-group chefdsc --name chefdsc03 --command-id RunPowerShellScript --scripts "chef-client"
Now that the chef-client has run we can see the node’s status. (if you did not install the report gem yet, look at the previous post for instructions!).
knife status role:common --run-list
knife runs list chefdsc03
knife runs show b496406a-8d5d-456f-80d6-6943eaa069b5
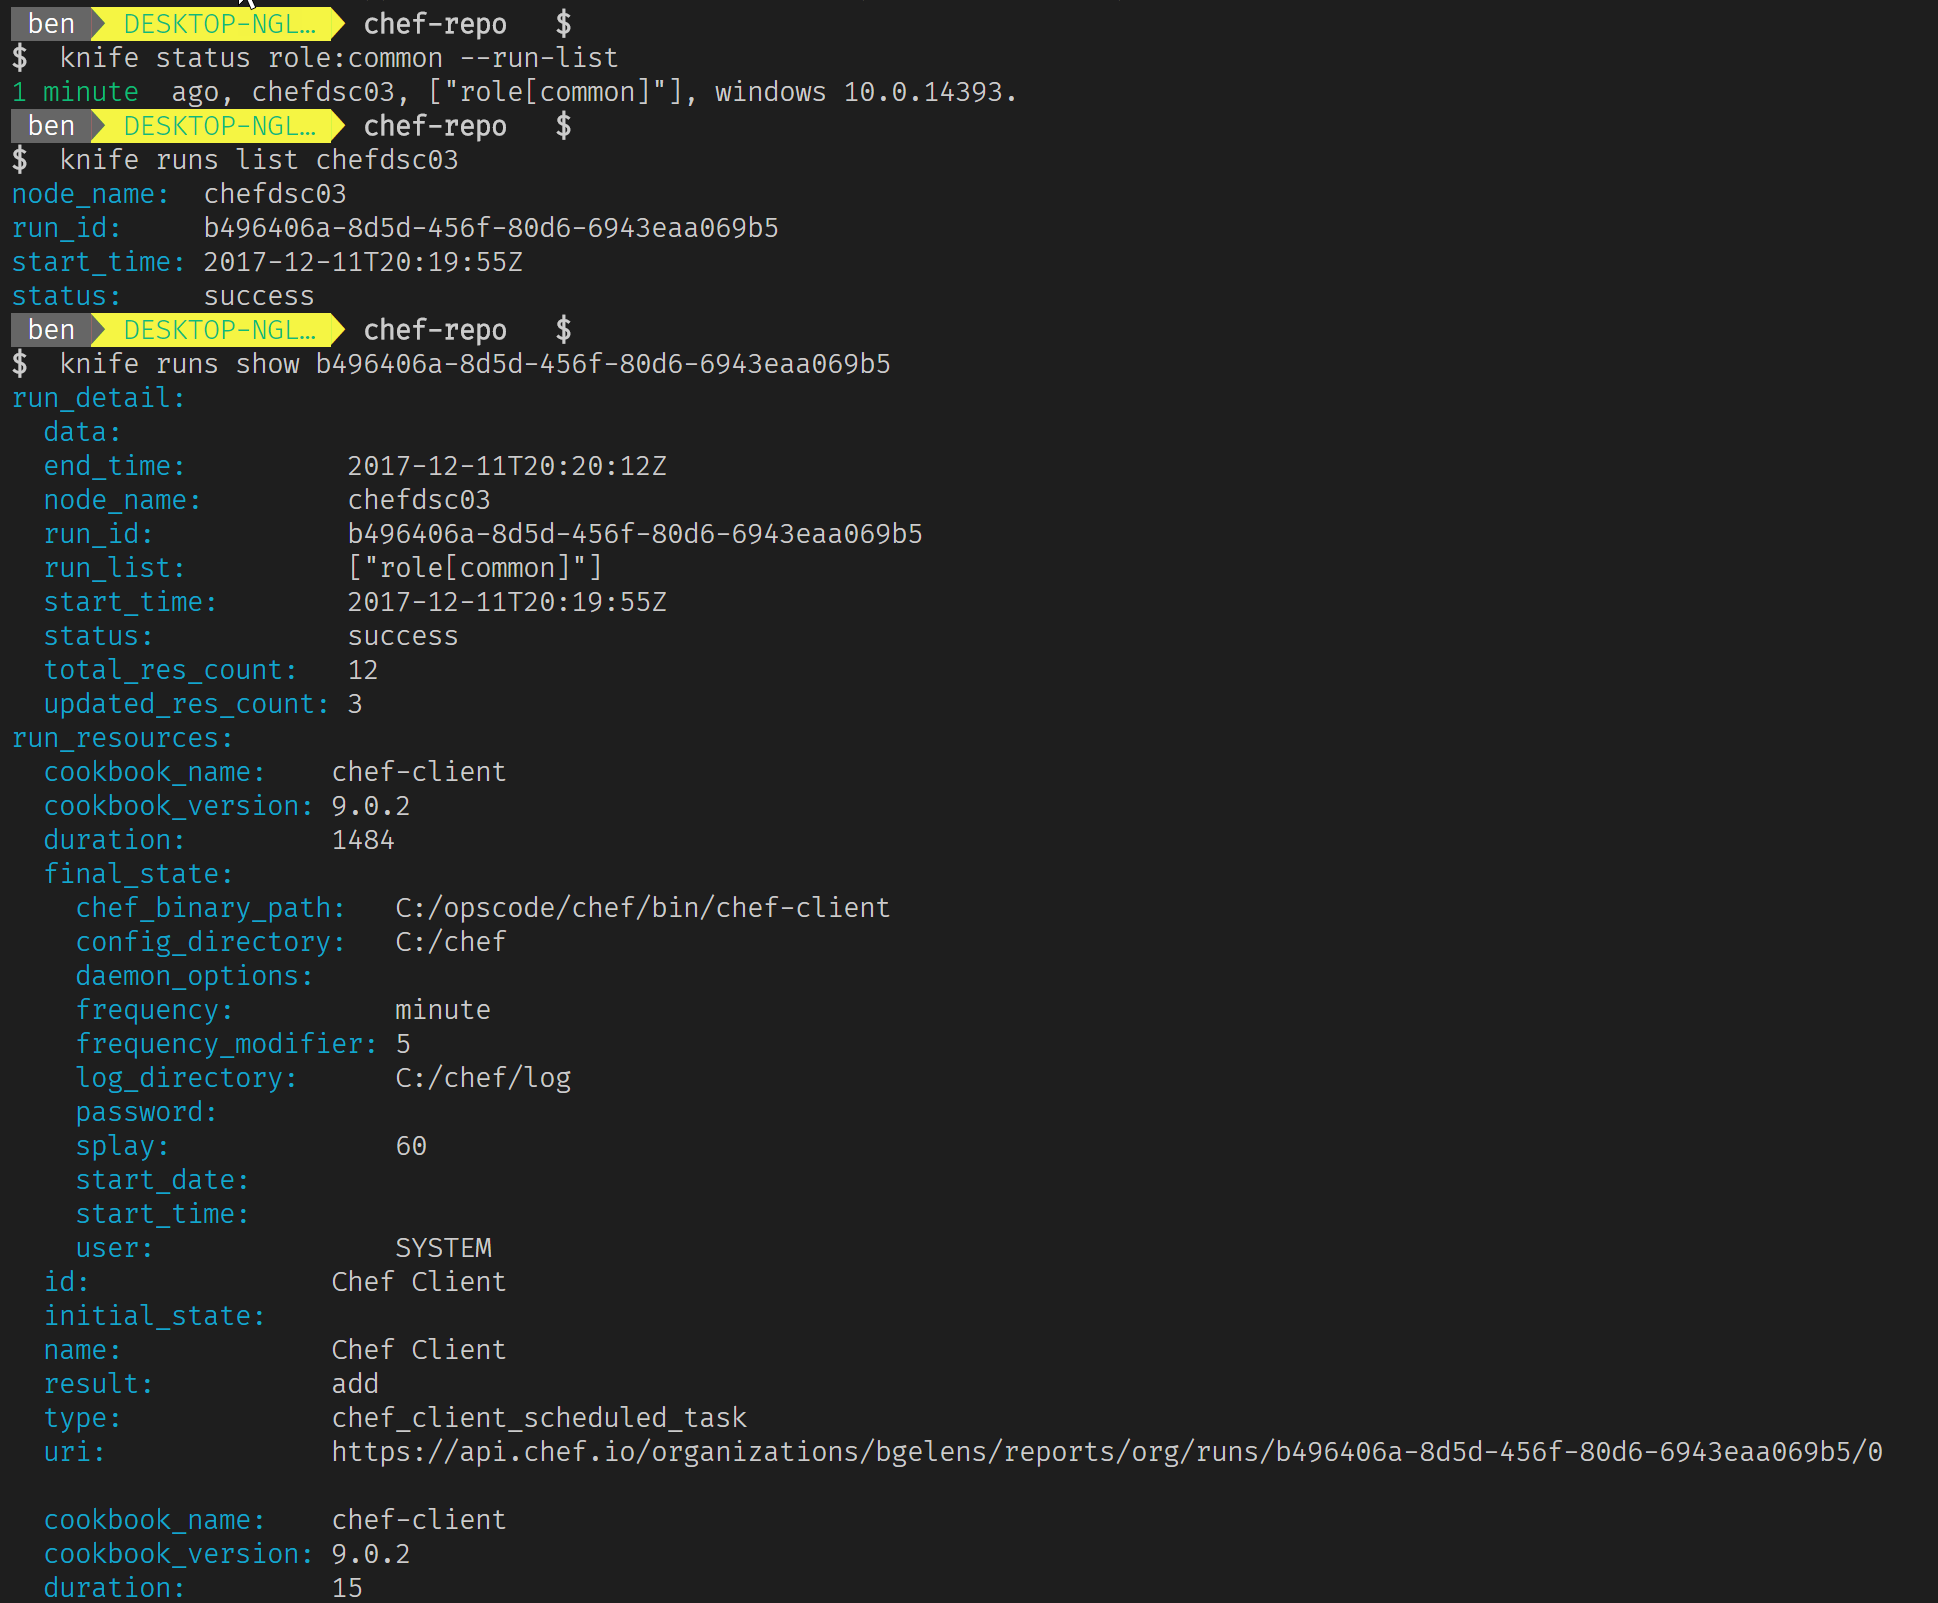
The node now has the interval configuration applied as well as the recipe from our own cookbook. Checking the node status 5 minutes later will present that we have achieved the result we wanted!

Final note on Chef with DSC
Personally, I have found testing out DSC with Chef to be very rewarding. It all feels very mature and well thought trough and to be honest, I just scratched the surface here. Hopefully I’ll have some real-world experience on the subject later on. If so, I’ll sure write some more posts on these two technologies together. For now, this was the last one on Chef, hope it has been as useful to you as it was to me. In the next post I’ll move on to another product (undecided at time of writing). To be continued!