In the previous post I’ve set things up for the Puppet agent to tell the server what role configuration it wants. By default new Puppet agents need to have their certificate signed before they are enrolled. In this post we look to further automate the process of the agent onboarding so we have a integrated VM deployment experience similar to how it’s done with the DSC LCM.
Index:
- Part 1: Chef intro
- Part 2: Chef notifications
- Part 3: Chef server
- Part 4: Chef bootstrapping
- Part 5: Chef client settings
- Part 6: Puppet intro
- Part 7: Puppet notifications
- Part 8: Puppet server
- Part 9: Puppet Modules, Roles and more
- Part 10: Puppet bootstrap
Auto signing
Puppet support a couple of different scenario’s when is comes to certificate signing. The most secure mode is arguably the default mode where every certificate needs to be manually approved before it is signed (disabled autosigning). This would disrupt the flow a bit which I’m trying to achieve so looking at the other options, I can choose between:
- Naïve autosigning (Just sign everything automatically, no checks)
- Basic autosigning (Auto sign based on a whitelist containing either a matching name or a domain name glob)
- Policy-based autosigning (The decision if the cert can be signed is offloaded to an external application which practically can implement any kind of pre-validation check)
Ideally we would go with Policy based autosigning. Maybe this will be a topic for another time as for this blog post I’m going with the cheapest implementation (I’m testing after all ;)), naïve autosigning.
On the Puppet master, let’s edit the /etc/puppetlabs/puppet/puppet.conf file to enable this by adding autosign = true to the [master] section.
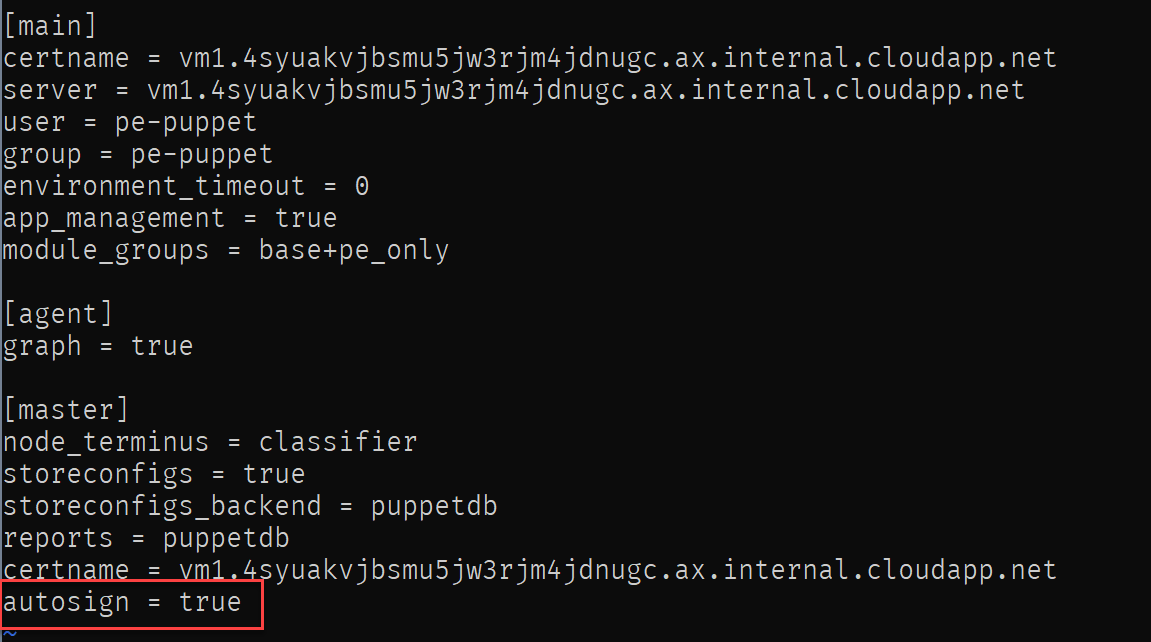
Next, reload the server configuration.
systemctl reload pe-puppetserver.service
Deploy new VM
Now we have autosigning configured, Let’s deploy a new Windows VM to be onboarded.
az vm create -n puppetdsc02 -g puppet --image MicrosoftWindowsServer:WindowsServerSemiAnnual:Datacenter-Core-1709-smalldisk:latest --size Standard_DS1_V2 --admin-username ben --admin-password 'My$uperSecretPa$$w0rd'
Now the VM is provisioned, let’s set the environmental variable FACTER_role by making use of the custom script extension.
az vm extension set \
    --name CustomScriptExtension \
    --publisher Microsoft.Compute \
    --resource-group puppet \
    --vm-name puppetdsc02 \
    --settings "{'commandToExecute': 'powershell.exe [environment]::SetEnvironmentVariable(\'FACTER_role\',\'dsctest\',[System.EnvironmentVariableTarget]::Machine)'}"

Once done, let’s onboard the VM by using the Puppet VM extension. I’m using the puppetagent extension instead of the PuppetEnterpriseAgent extension as the latter didn’t seem to work for me. This extension is very limited at the time of writing (only supports specifying the Puppet master url AFAIK, which is why we set the FACTER_role before using the script extension).
az vm extension set \
  --name puppetagent \
  --publisher puppet \
  --resource-group puppet \
  --vm-name puppetdsc02 \
  --protected-settings "{'puppet_master_server': 'bgelenspuppet.westeurope.cloudapp.azure.com'}"

The extension is deployed. Now we can look at the puppet master portal to see if the node certificate was indeed automatically signed and therefore the node has been enrolled.
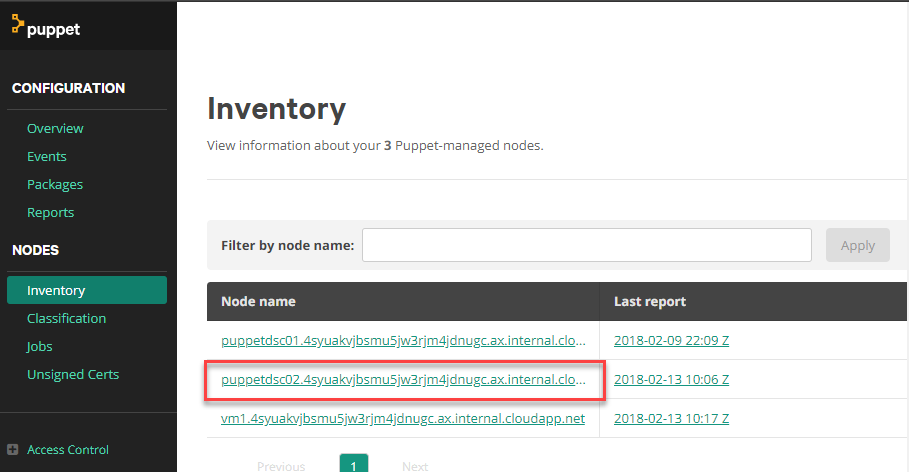
Great! Now to see if the role fact has propagated.
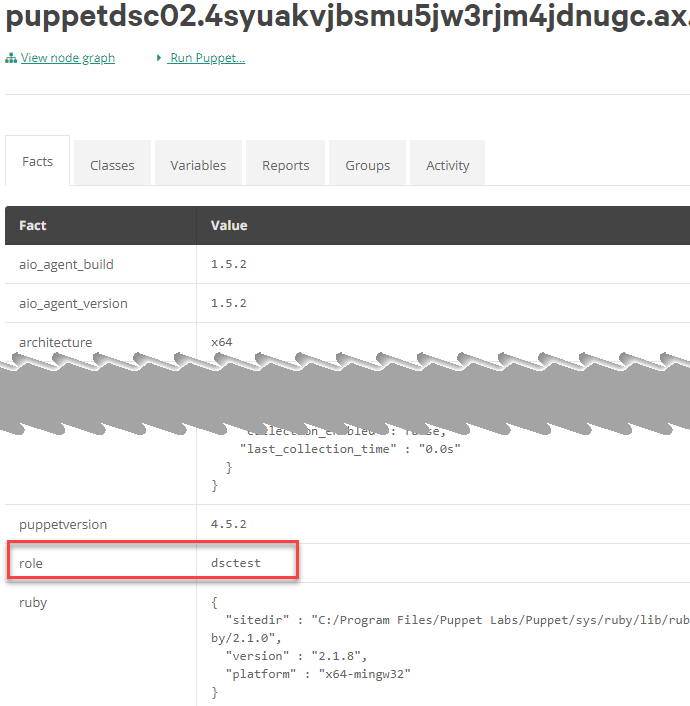
As you can see, everything worked as anticipated and we can also see some nice Puppet reporting features while we are at it.
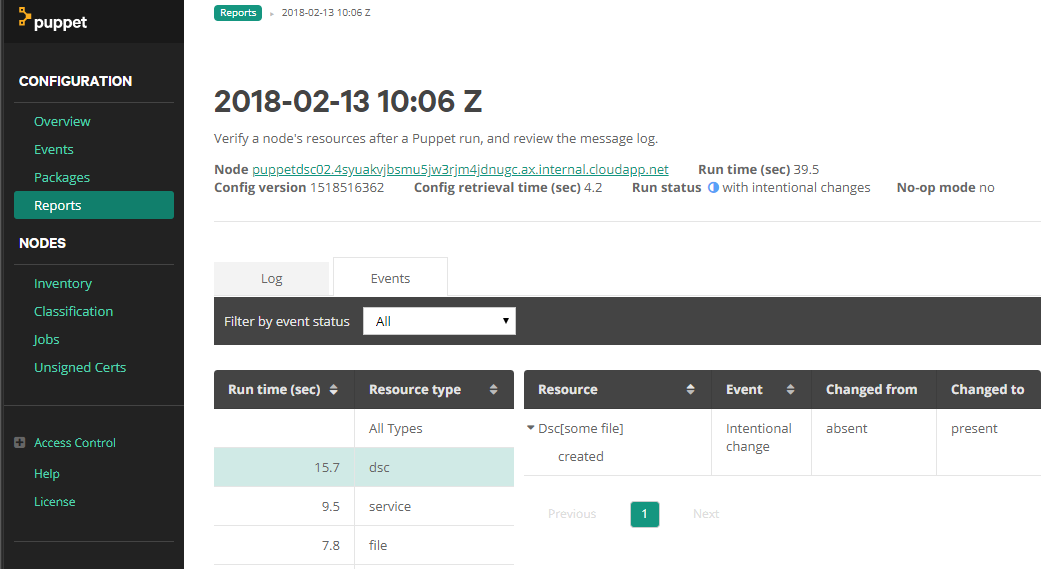
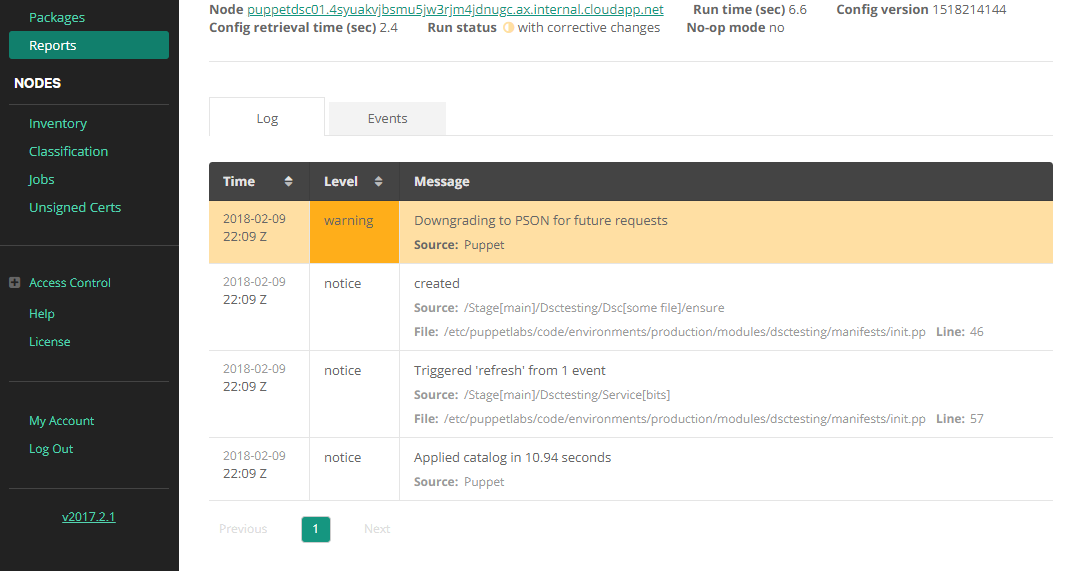
Here we can see that the file was created by the File DSC resource.
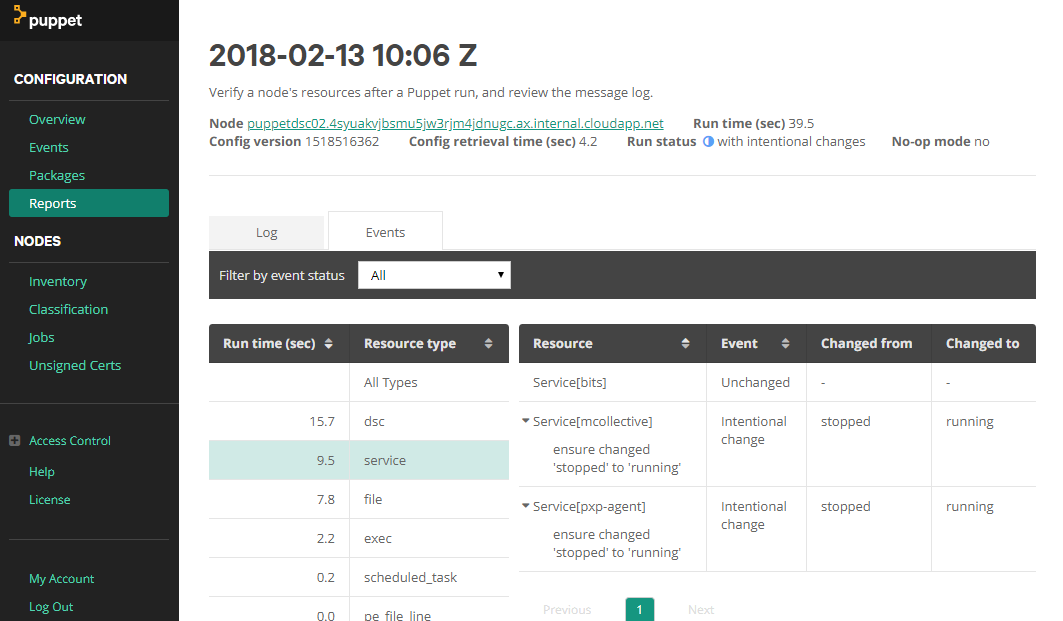
And we can see that this triggered the BITS service restart.
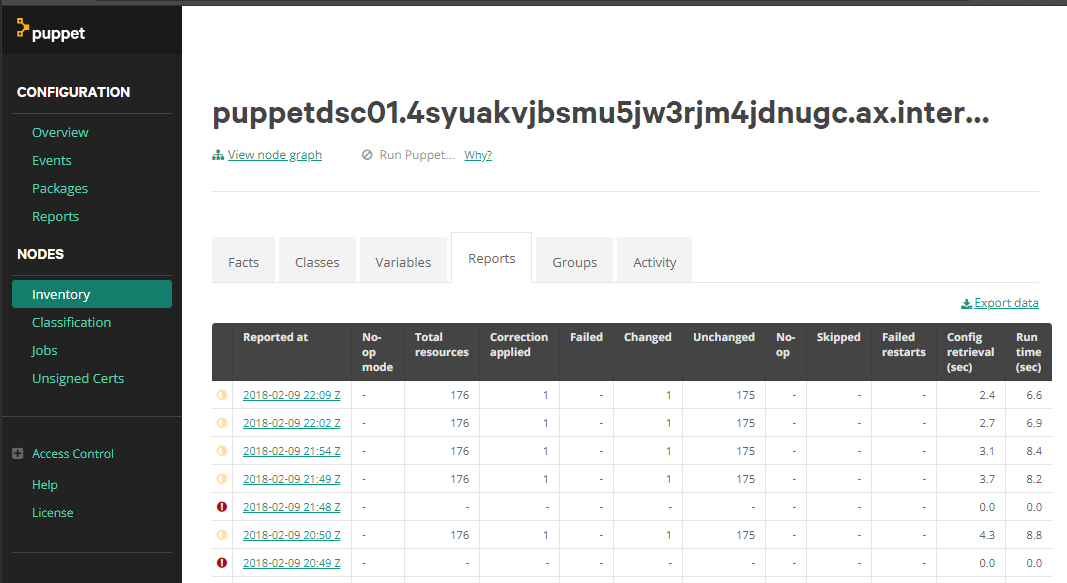
When looking at reporting from an earlier enrolled node, we can see a summery of every run which we can drill in through very easily.
Final note on Chef with Puppet
Personally, I have found testing out DSC with Puppet to be just as rewarding as with Chef. Again, I just scratched the surface here and I know there is so much more to look at the really appreciate what Puppet is. I guess that with regard to my goal, it’s mission accomplished. So this was the last one on Puppet (at least for now), hope it has been as useful to you as it was to me.
