
This blog post is written and published on AzureStack.blog: https://azurestack.blog/2016/02/adding-centos-7-to-azure-stack-tp1/
By default Azure Stack TP1 comes with a Windows 2012 R2 image available for the tenants. I wanted to expand my testing capabilities with a Linux deployment as well and I choose CentOS as my distribution. In this blog post I’m going to guide you through the creation of the image vhd on the Azure Stack box and making it available for the tenants.
Note: I got some feedback that if you run your Azure Stack host from vhd, the driveletters could be different from what is described in this post.
This post is based on a host with Windows installed on the disk directly.
Creating a VM on the Azure Stack Hyper-V machine
I’m not near to my test environment and my internet connection has a limited upload speed so I decided to prep my image on the Azure Stack Hyper-V box itself.
Create the VM using the following PowerShell code:
#region Download latest CentOS Minimal ISO
$Download = @{
    Uri = 'http://buildlogs.centos.org/rolling/7/isos/x86_64/CentOS-7-x86_64-Minimal.iso'
    OutFile = 'c:\CentOS-7-x86_64-Minimal.iso'
    UseBasicParsing = $true
}
Invoke-WebRequest @Download
#endregion

#region Acquire Netadapter Isolation settings for reference
$RefNetIsolation = Get-VM -Name ADVM | Get-VMNetworkAdapter | Get-VMNetworkAdapterIsolation
#endregion

#region Create VM
$VM = New-VM -Name CentOS -MemoryStartupBytes 2GB -SwitchName 'CCI_External_vSwitch' -BootDevice CD -Generation 1 -NoVHD
$vm | Set-VMProcessor -Count 2
$VHD = New-VHD -Path C:\ClusterStorage\Volume1\Share\VM\CentOS.vhd -SizeBytes 40GB -Dynamic
$VM | Add-VMHardDiskDrive -ControllerType IDE -ControllerNumber 0 -ControllerLocation 0 -Path $vhd.Path
$VM | Get-VMDvdDrive | Set-VMDvdDrive -Path C:\CentOS-7-x86_64-Minimal.iso
#endregion

#region Configure netadapter isolation and assing NC port profile
$VMNetAdapter = $VM | Get-VMNetworkAdapter
$IsolationSettings = @{
    IsolationMode = 'Vlan'
    AllowUntaggedTraffic = $true
    DefaultIsolationID = $RefNetIsolation.DefaultIsolationID
    MultiTenantStack = 'off'
}
$VMNetAdapter | Set-VMNetworkAdapterIsolation  @IsolationSettings
#import set-PortProfileId function
. C:\ClusterStorage\Volume1\Share\NCDeployment\Scripts\NetworkControllerRESTWrappers.ps1
set-PortProfileId -resourceID ([System.Guid]::Empty.tostring()) -VMName $VM.Name -NicName $VMNetAdapter.Name
#endregion

#region Start VM
$VM | Start-VM
#endregion
The script will download the CentOS iso and create and configure a VM. Then it will set the Isolation settings inline with the ADVM VM. Finally it imports a function used by the fabric installer to assign the port profile associated with the Azure Stack VMs. Without it, there will be no network connectivity for the VM. The VM is started.
Installing CentOS
Now the VM is ready to be installed and prepped. Run the following to open the console to it.
vmconnect.exe localhost centos
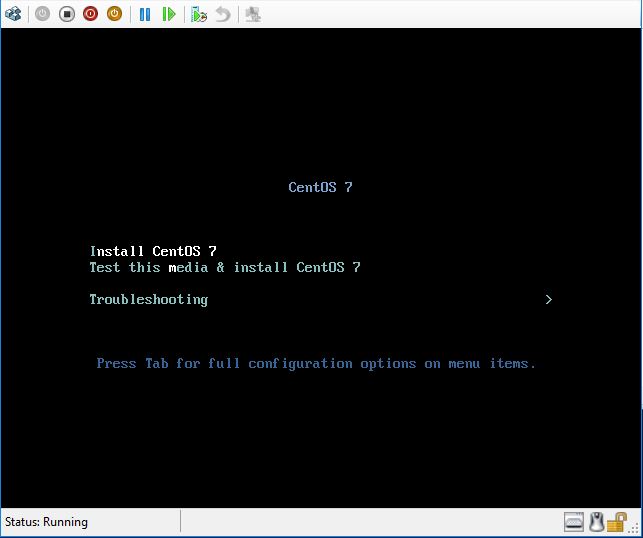
Select “Install CentOS 7” from the menu.
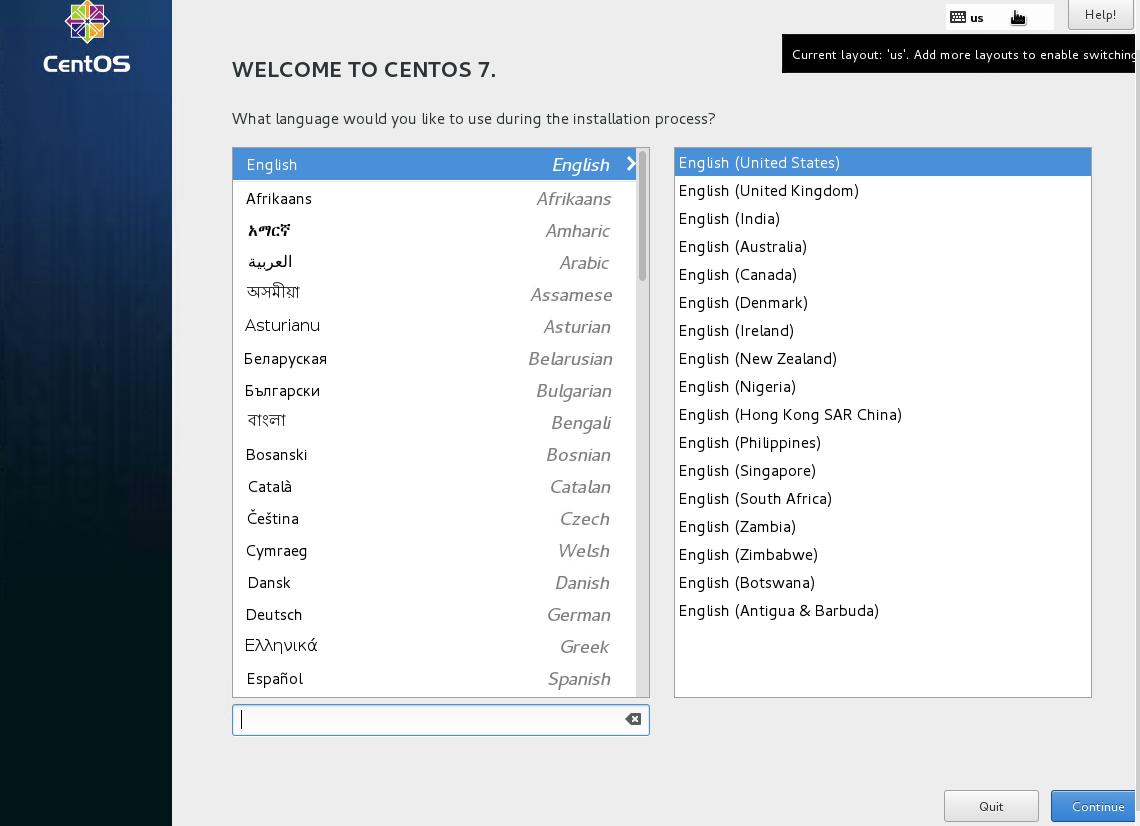
Select Continue in the language menu
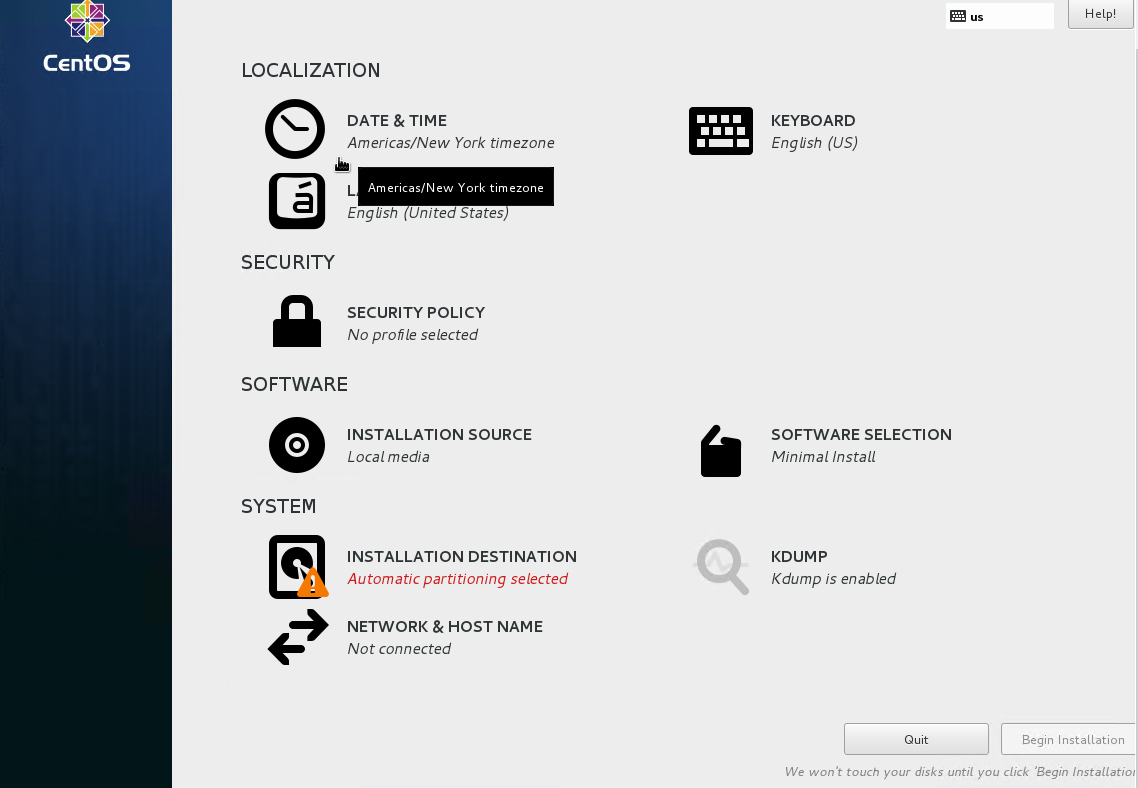
Select Installation Destination
Select I will configure partitioning and select done
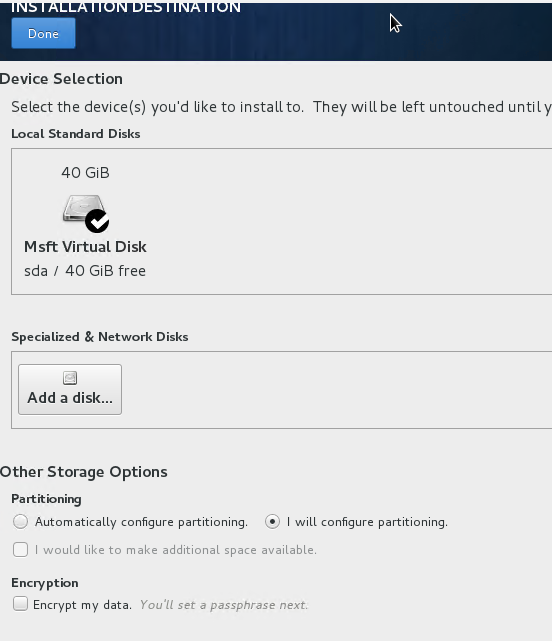
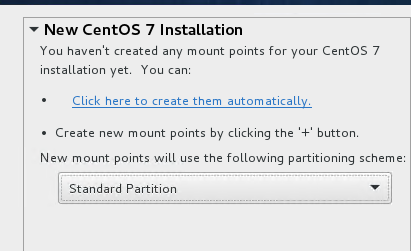
Select from the drop down list “Standard Partition” (best practice for Azure Linux VMs) and hit “Click here to create them automatically”
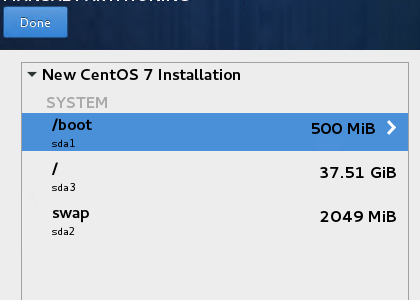
Now select Done
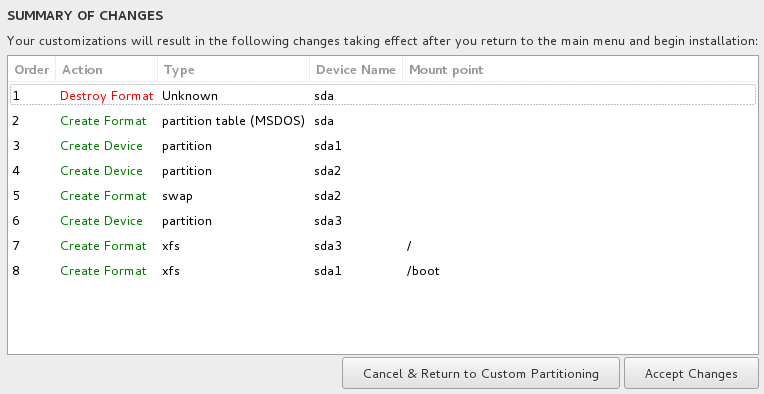
Select “Accept changes”
Hit begin installation
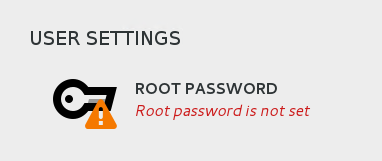
While waiting for installation to finish, assign a temporary Root password
Once installation is finished, select Reboot.

Preparing the image
Once CentOS is booted, login with root and the password assigned during setup.
Now we will enable networking so we can update the image and install all requirements.
First open /etc/sysconfig/network by typing vi /etc/sysconfig/network
In vi hit “i” to enable insert mode and add the following lines:
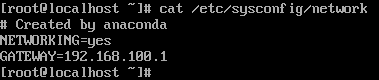
NETWORKING=yes
GATEWAY=192.168.100.1
Next hit “ESC” and type “:wq” which stands for write and quit.
Run cat /etc/sysconfig/network. The output should look like:
Now that you know how to edit files, from now on I only tell what to adjust 🙂
Modify /etc/sysconfig/network-scripts/ifcfg-eth0. It should contain only the following:
TYPE=Ethernet
BOOTPROTO=static
DEVICE=eth0
ONBOOT=yes
USERCTL=no
PEERDNS=yes
IPV6INIT=no
IPADDR=192.168.100.15
NETMASK=255.255.255.0
I checked for free IP addresses and 15 was the first one free for me.
Modify /etc/resolv.conf. It should contain only the following:
nameserver 192.168.100.2
Now the network config files have been set, let’s restart the network service to enable the interface.
systemctl restart network
Now we will update the CentOS packages and install some prereqs. Once it is done, we’ll restart the OS.
yum -y update
yum -y install python-pyasn1 wget python-setuptools
init 6
Once CentOS is booted again, login with root and run the following:
wget https://github.com/Azure/WALinuxAgent/archive/v2.1.3.tar.gz
tar -zxvf v2.1.3.tar.gz
cd WALinuxAgent-2.1.3
python setup.py install
systemctl enable waagent
rm v2.1.3.tar.gz -f
rm WALinuxAgent -fR
This will download the latest Windows Azure Linux Agent from GitHub (release notes). This is a pre-release containing fixes specifically for Azure Stack. Normally you would not take this route but you would install the package from a package repository using yum (this pre-release version however is not yet available through this route).
Once the WALinuxAgent tar file is downloaded, it is extracted. The daemon is installed and enabled and leftovers will be cleaned up.
Now edit/etc/default/grub. Change the line GRUB_CMDLINE_LINUX so it only has these values: “rootdelay=300 console=ttyS0 earlyprintk=ttyS0” Next generate a new grub config.
grub2-mkconfig -o /boot/grub2/grub.cfg
Edit /etc/waagent.conf and modify ResourceDisk.Format=y to ResourceDisk.Format=n as Azure Stack does not have the temporary drive (yet).
Now edit /etc/sysconfig/network-scripts/ifcfg-eth0 again.
Change BOOTPROTO=dhcp and remove the lines IPADDR and NETMASK.
Edit /etc/sysconfig/network and remove the line GATEWAY.
Finally edit /etc/resolv.conf and remove the line nameserver.
Now it’s time to deprovision the OS (sysprep for Linux), clear the captured history and logout.
waagent -force -deprovision
export HISTSIZE=0
logout
Now shutdown the VM through Hyper-V VM Controls.
Add Image to CRP
Now the image is properly prepped, we can add it to the PlatformImages Directory of the Compute Resource Provider.
Microsoft shipped a PowerShell script to help with the procedure and generate the json manifest for you.
Run the following:
$ImageImport = @{
    PlatformImageRespositoryPath = '\\SOFS\Share\CRP\PlatformImages\'
    ImagePath = 'C:\ClusterStorage\Volume1\Share\VM\CentOS.vhd'
    Publisher = 'BGelens'
    Offer = 'CentOS'
    Sku = '7.2'
    Version = '7.2.20160201'
    OsType = 'Linux'
}

D:\CRP\VM\Microsoft.AzureStack.Compute.Installer\content\Scripts\CopyImageToPlatformImageRepository.ps1 @ImageImport
The image now is available.
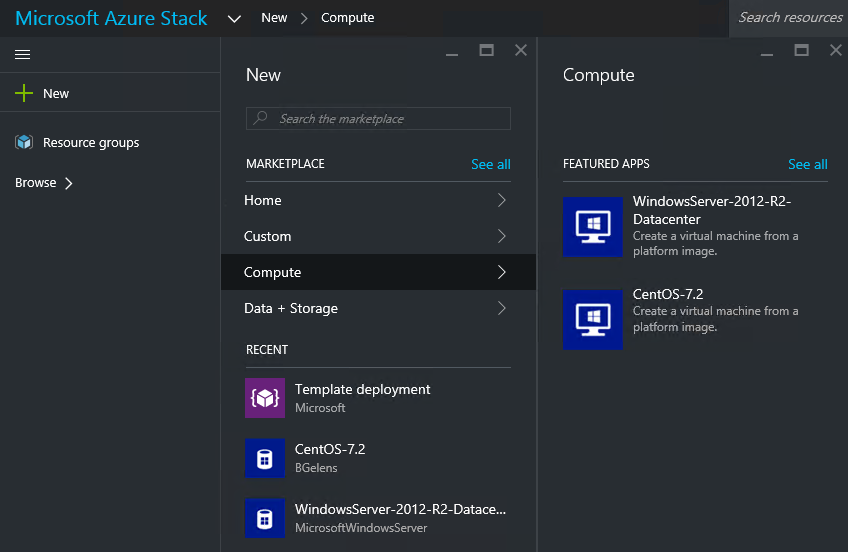
Happy deploying!